Connecting a WordPress Site
Add a WordPress site to your project and establish a full connection
After creating a project, the next step is to connect a WordPress site. RightPlace manages your WordPress connection through three layers:
- Site reachability - can we reach your domain?
- Admin session - are you logged in to WP Admin?
- Plugin pairing - is the RightPlace plugin installed and paired with this device?
This gives you a clear view of your connection status at all times.
Setting up a connection
Step 1: Add a WordPress site
Open your project and click the + button in the resources section, or use the Add Resource command. This opens the resource picker.
Select WordPress Site from the Web & CMS category in the left sidebar.
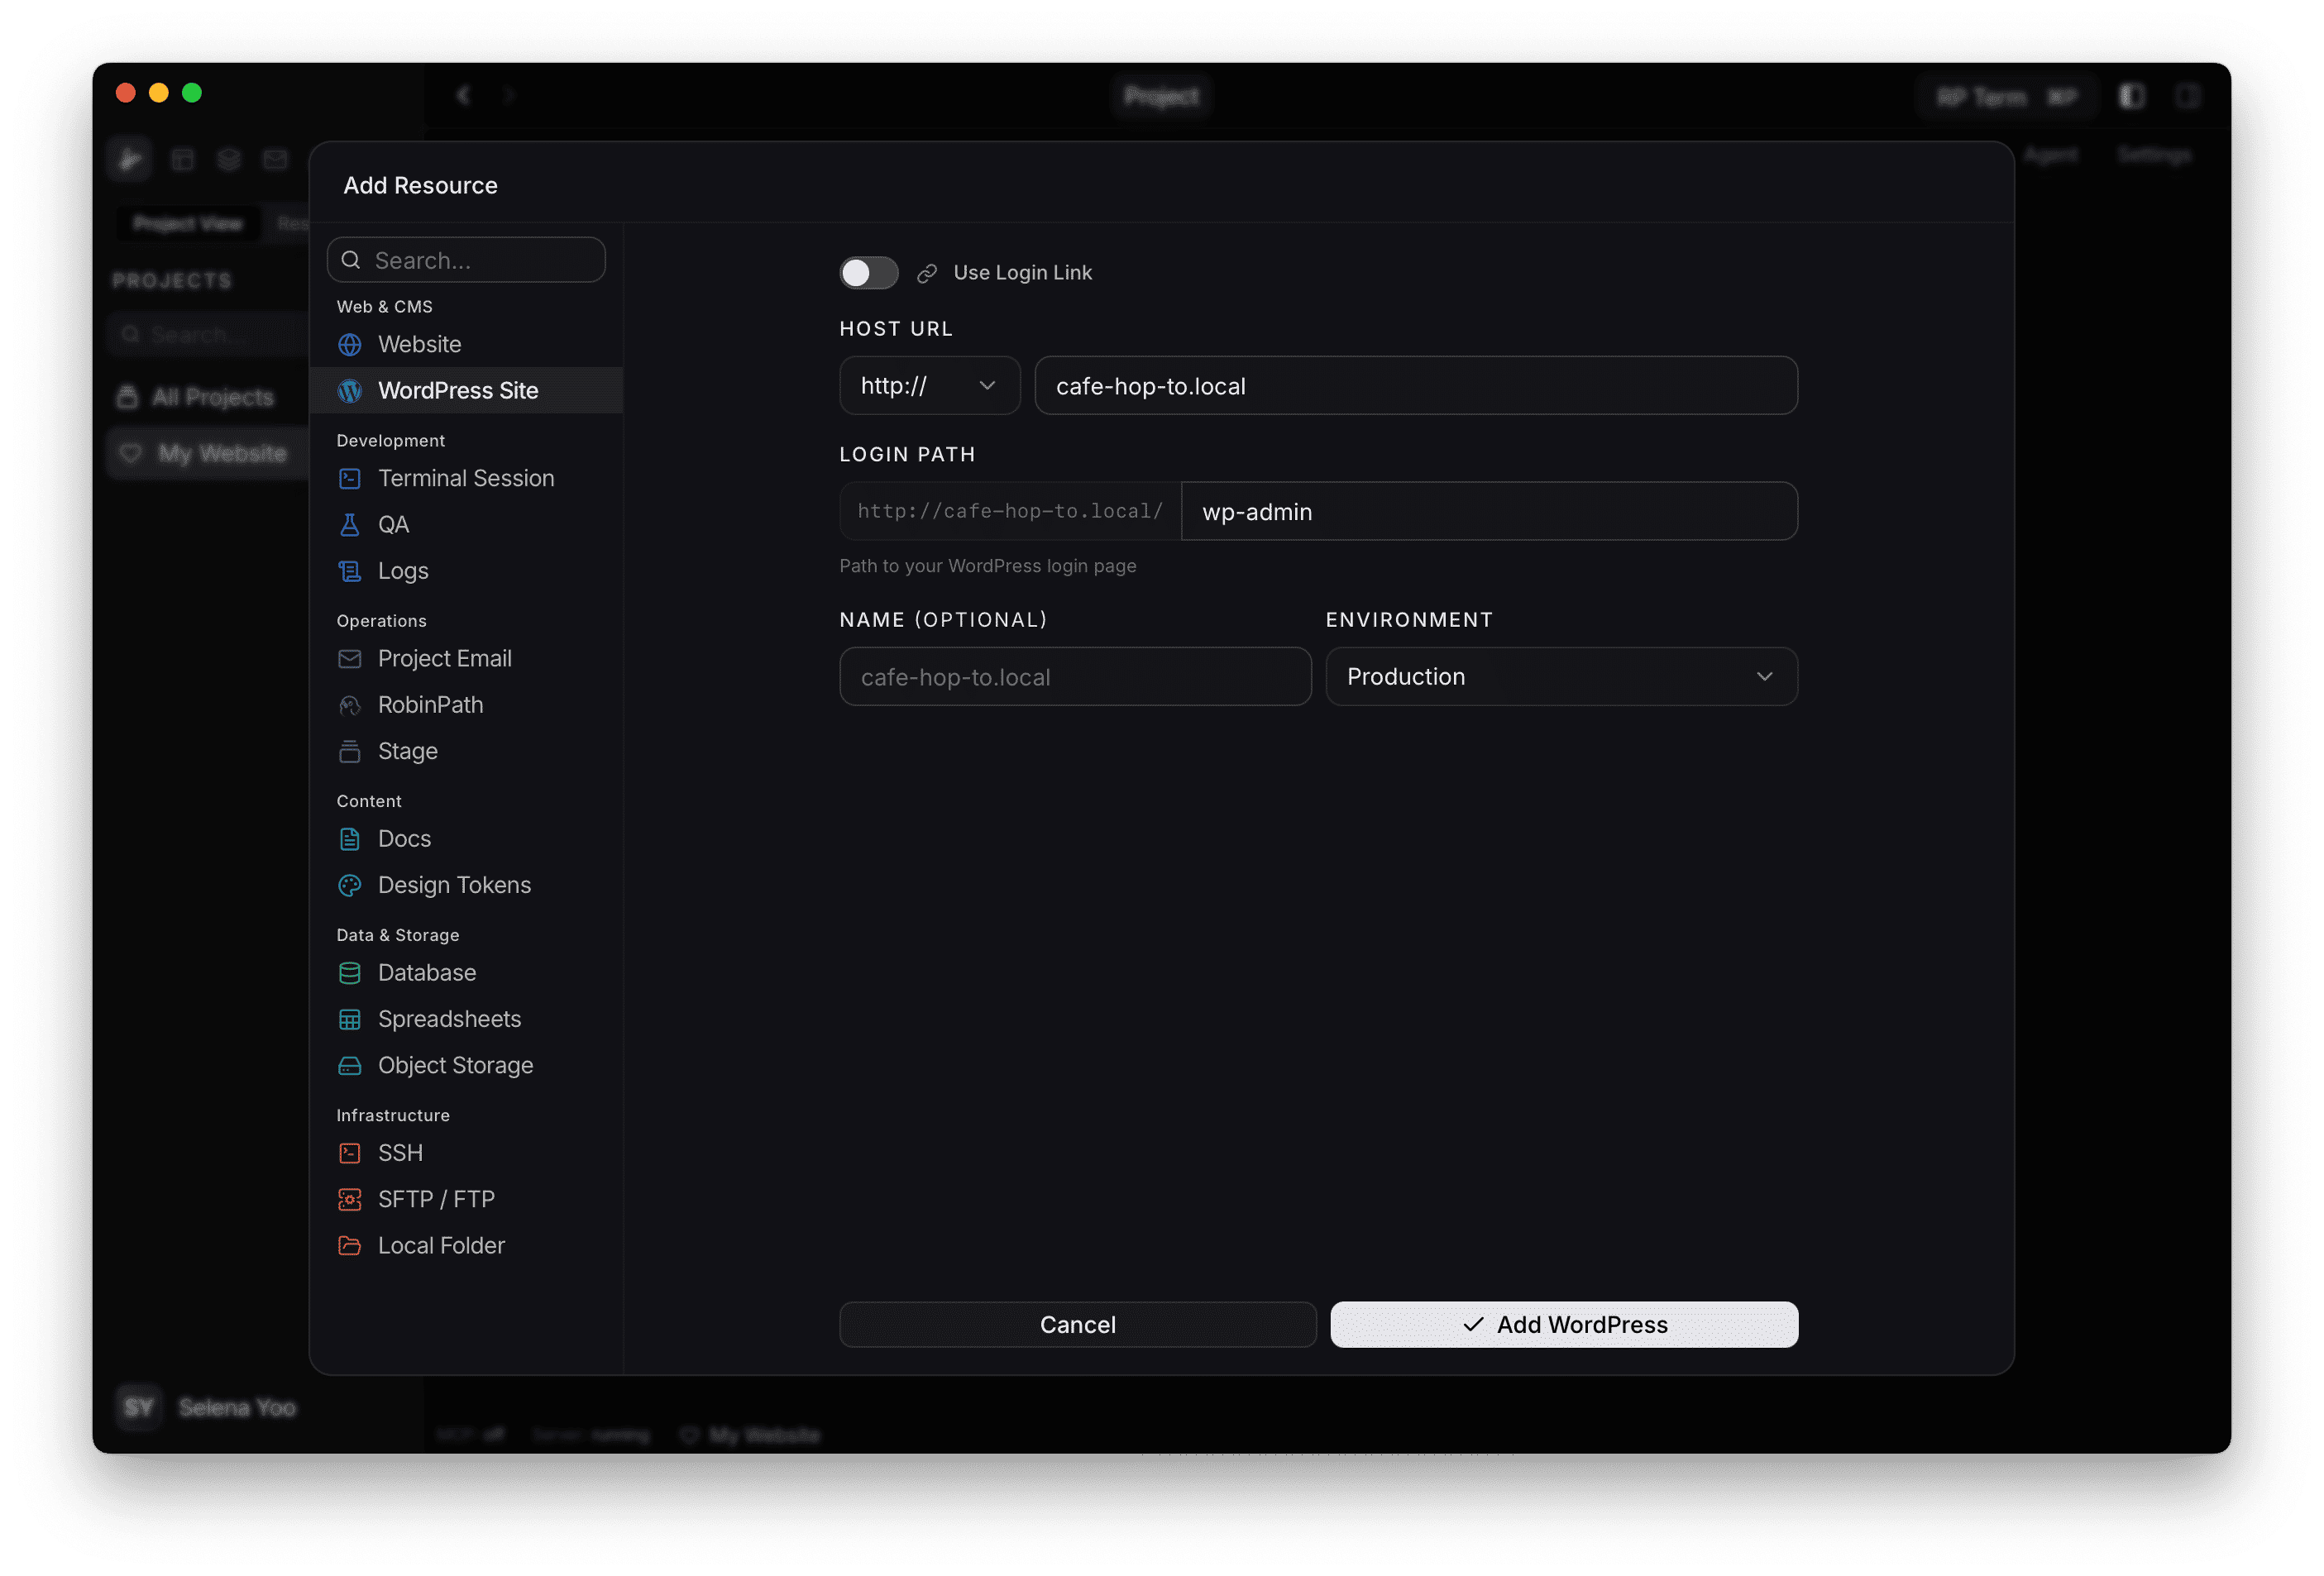
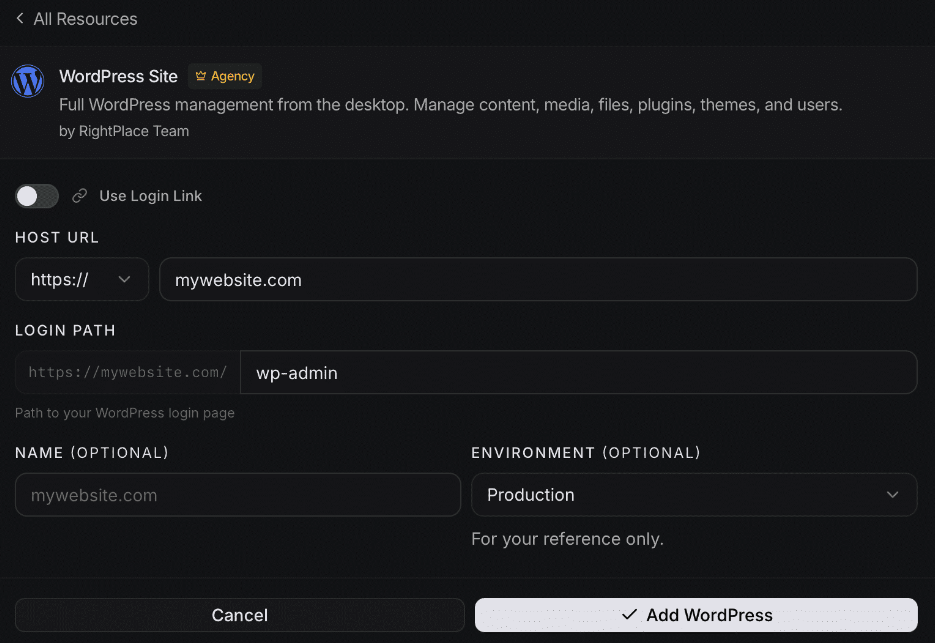
Step 2: Enter your site details
Fill in the connection form:
- Host URL: Choose the protocol (
https://orhttp://) and enter your domain (e.g.mywebsite.com). - Login Path: The path to your WordPress login page. Defaults to
wp-admin. - Name: An optional display name. If left blank, the host URL is used.
- Environment: Tag your site as Production, Staging, Development, or None.
Click Add WordPress to save the resource.
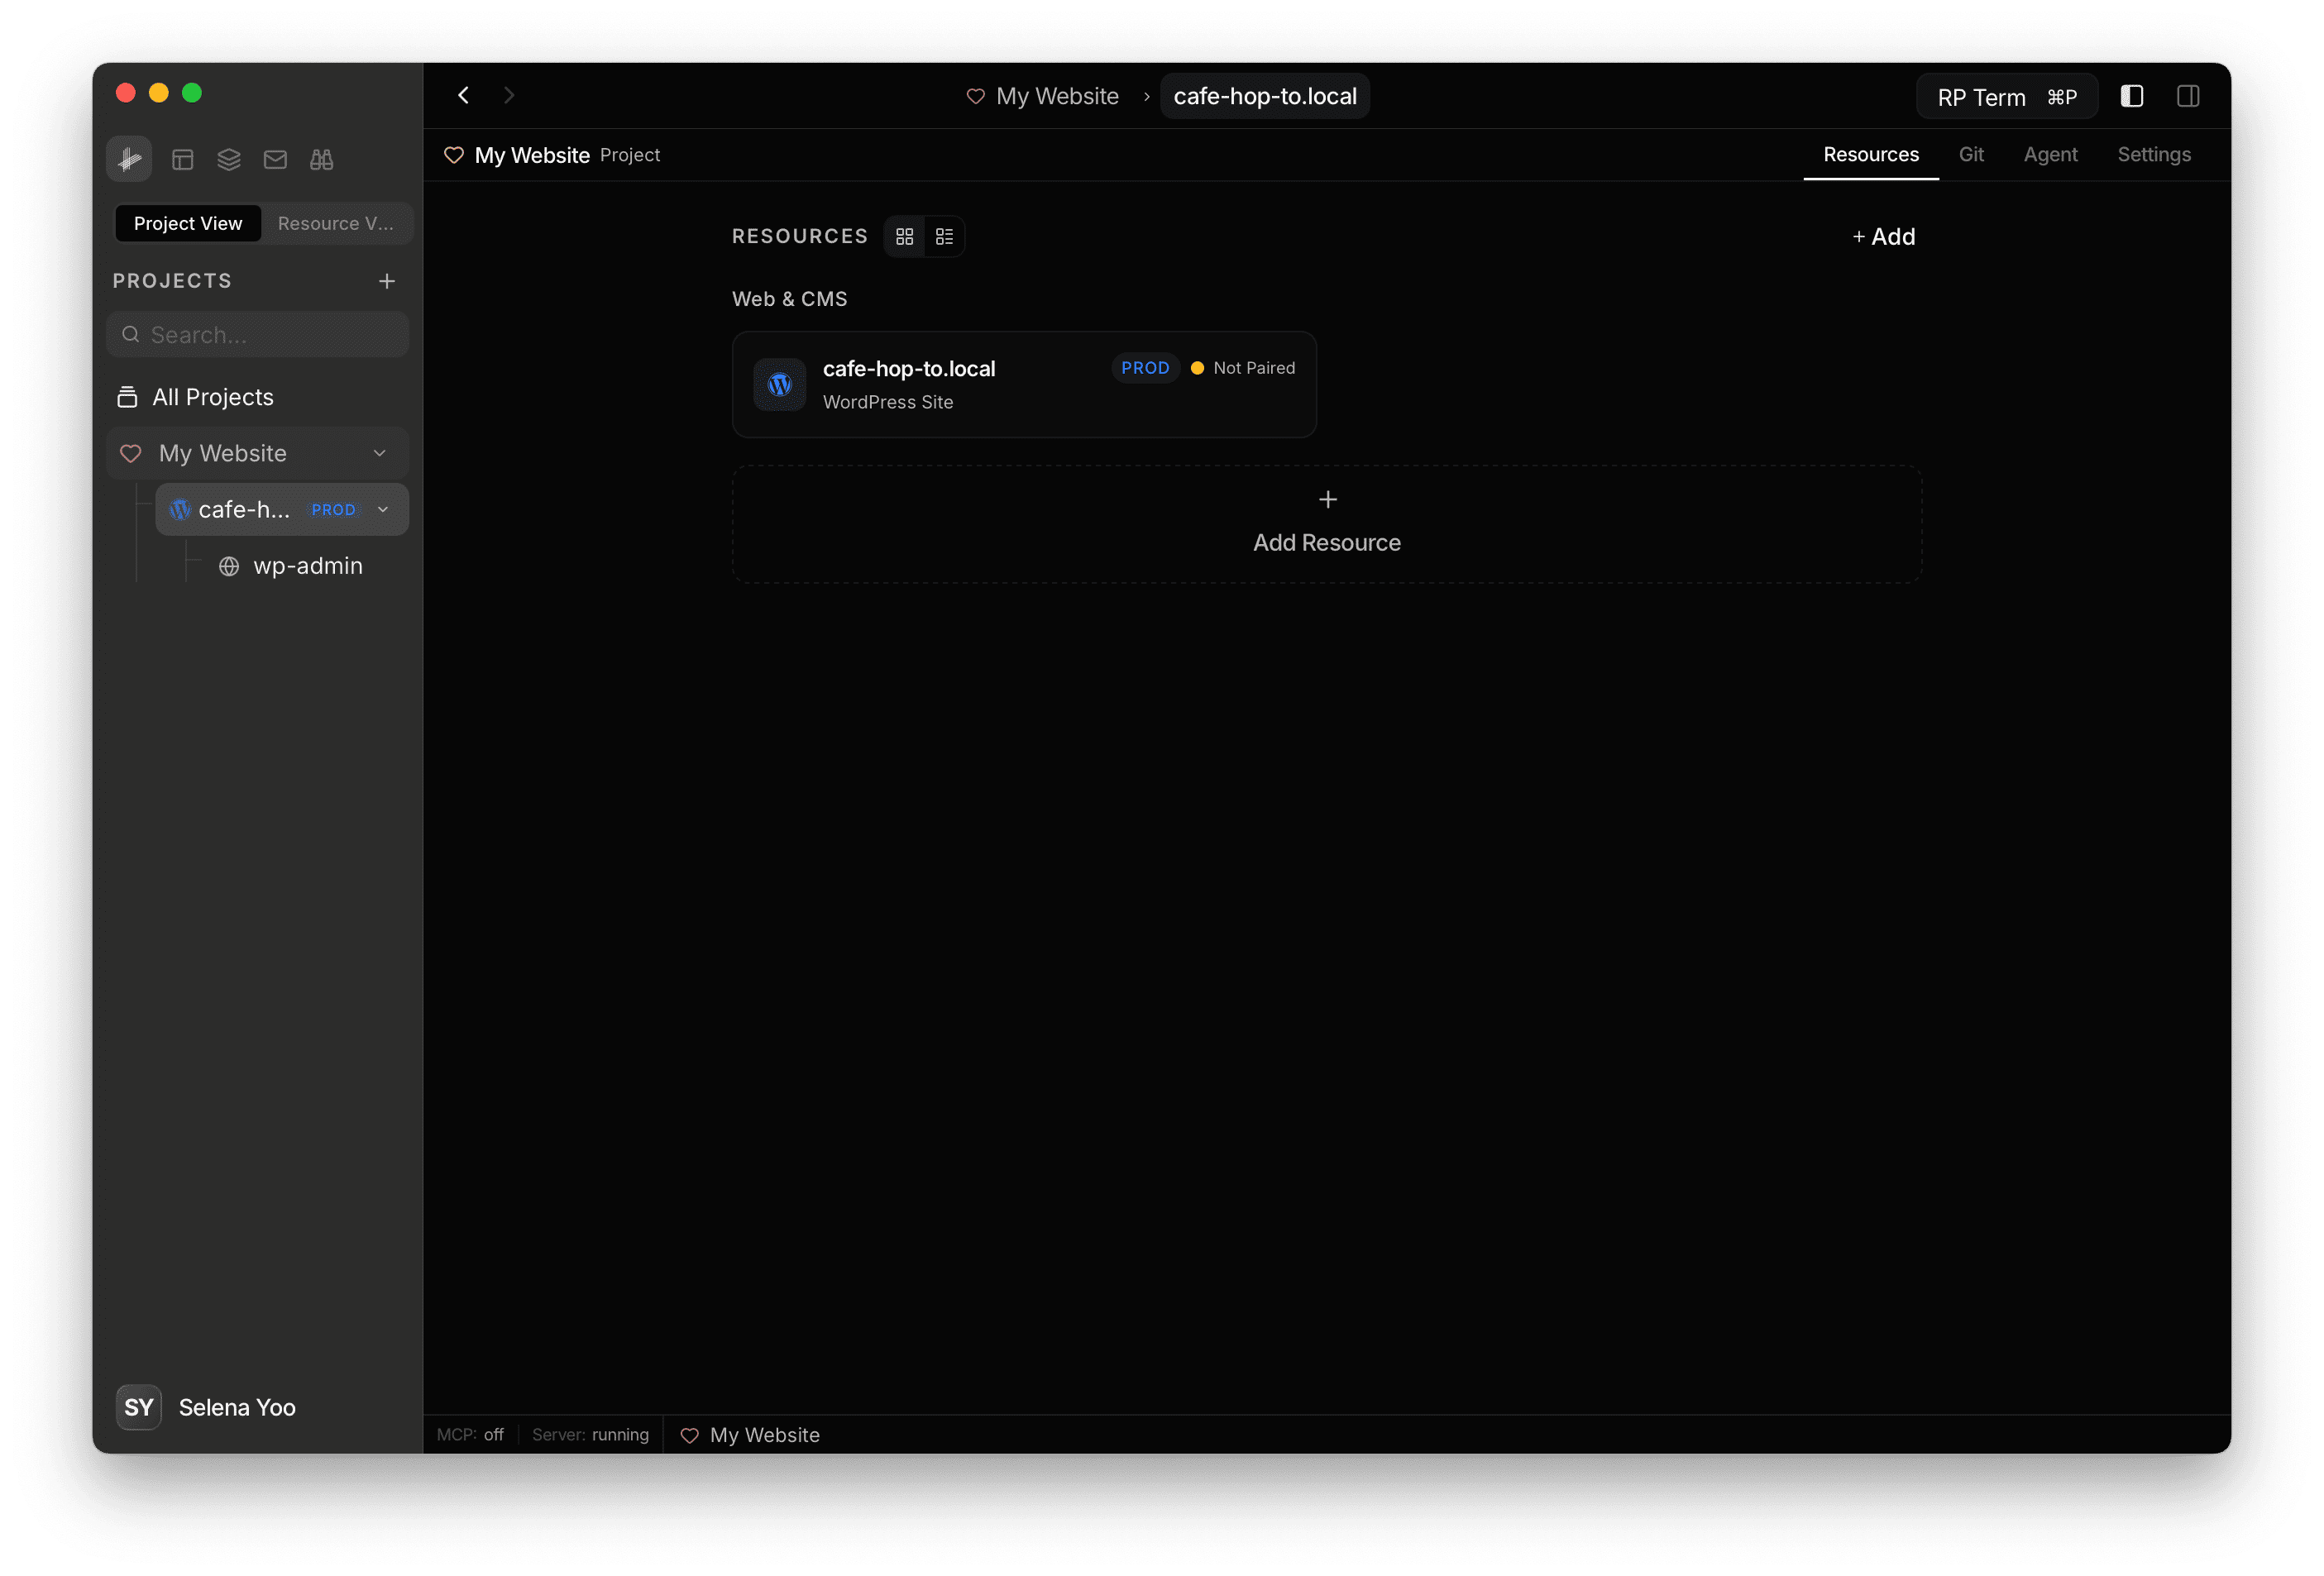
Step 3: Open your site settings
Once added, the site appears in your project’s resource list. Click on it to open its settings.
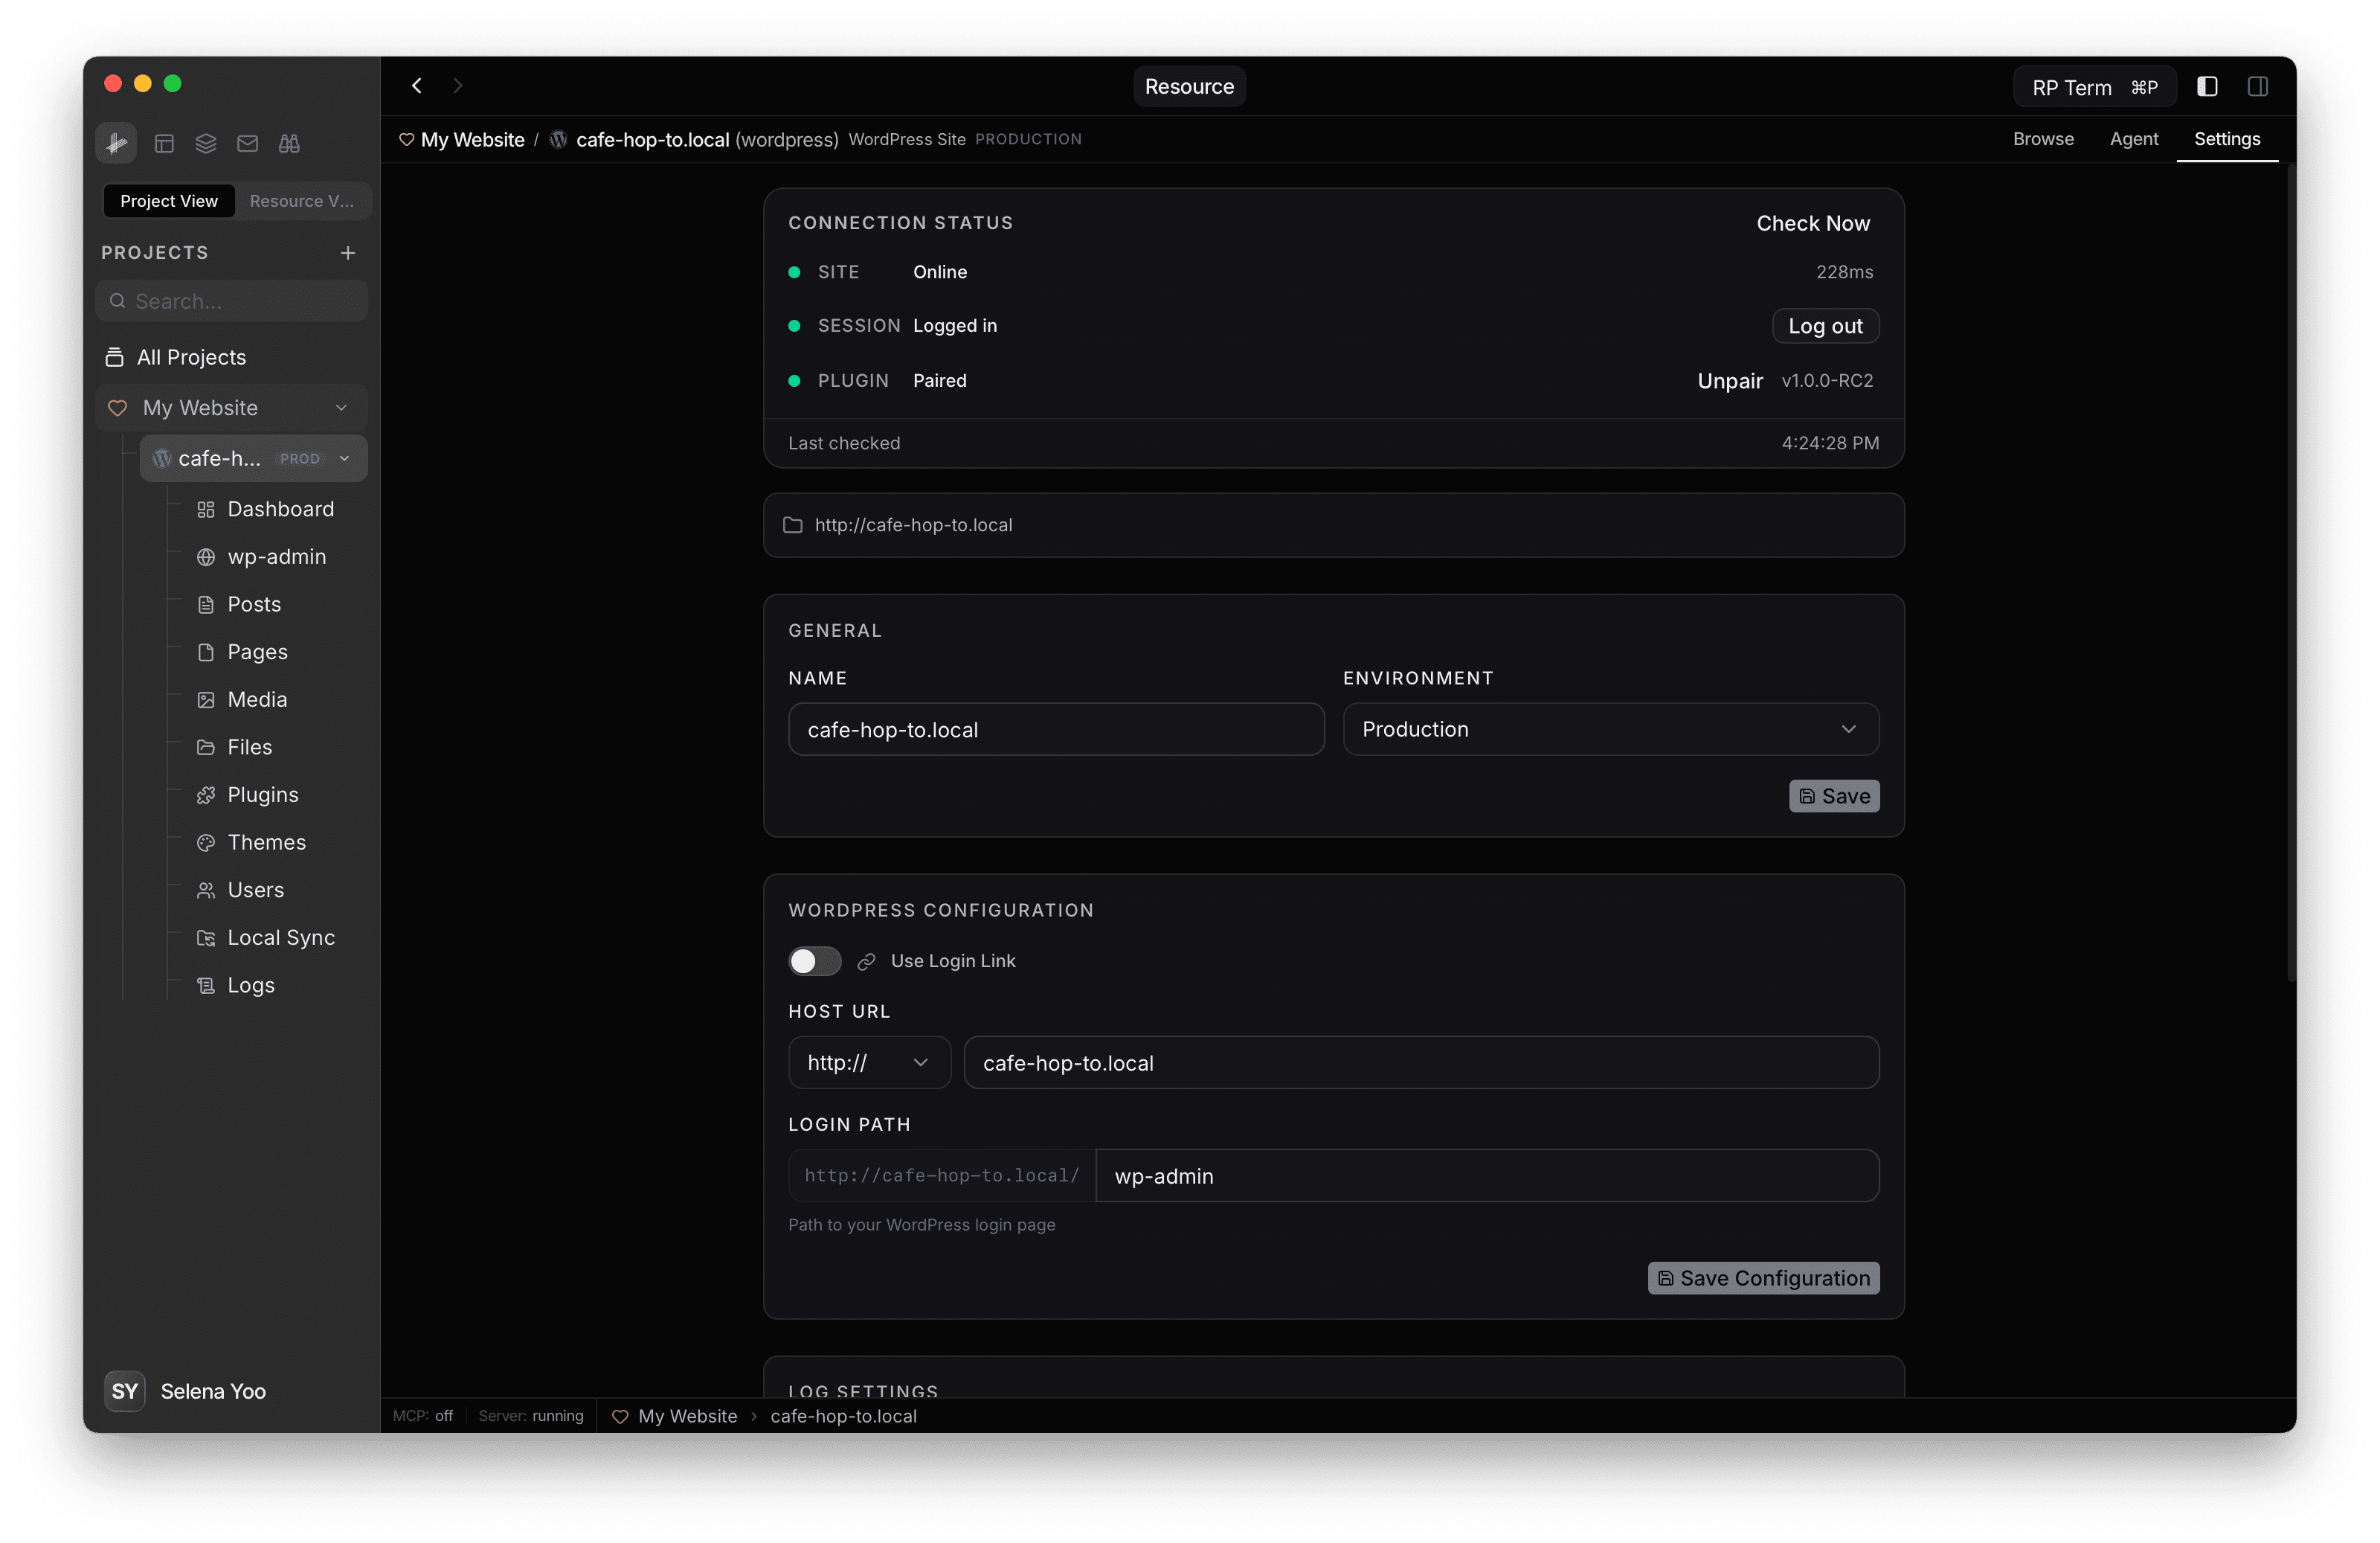
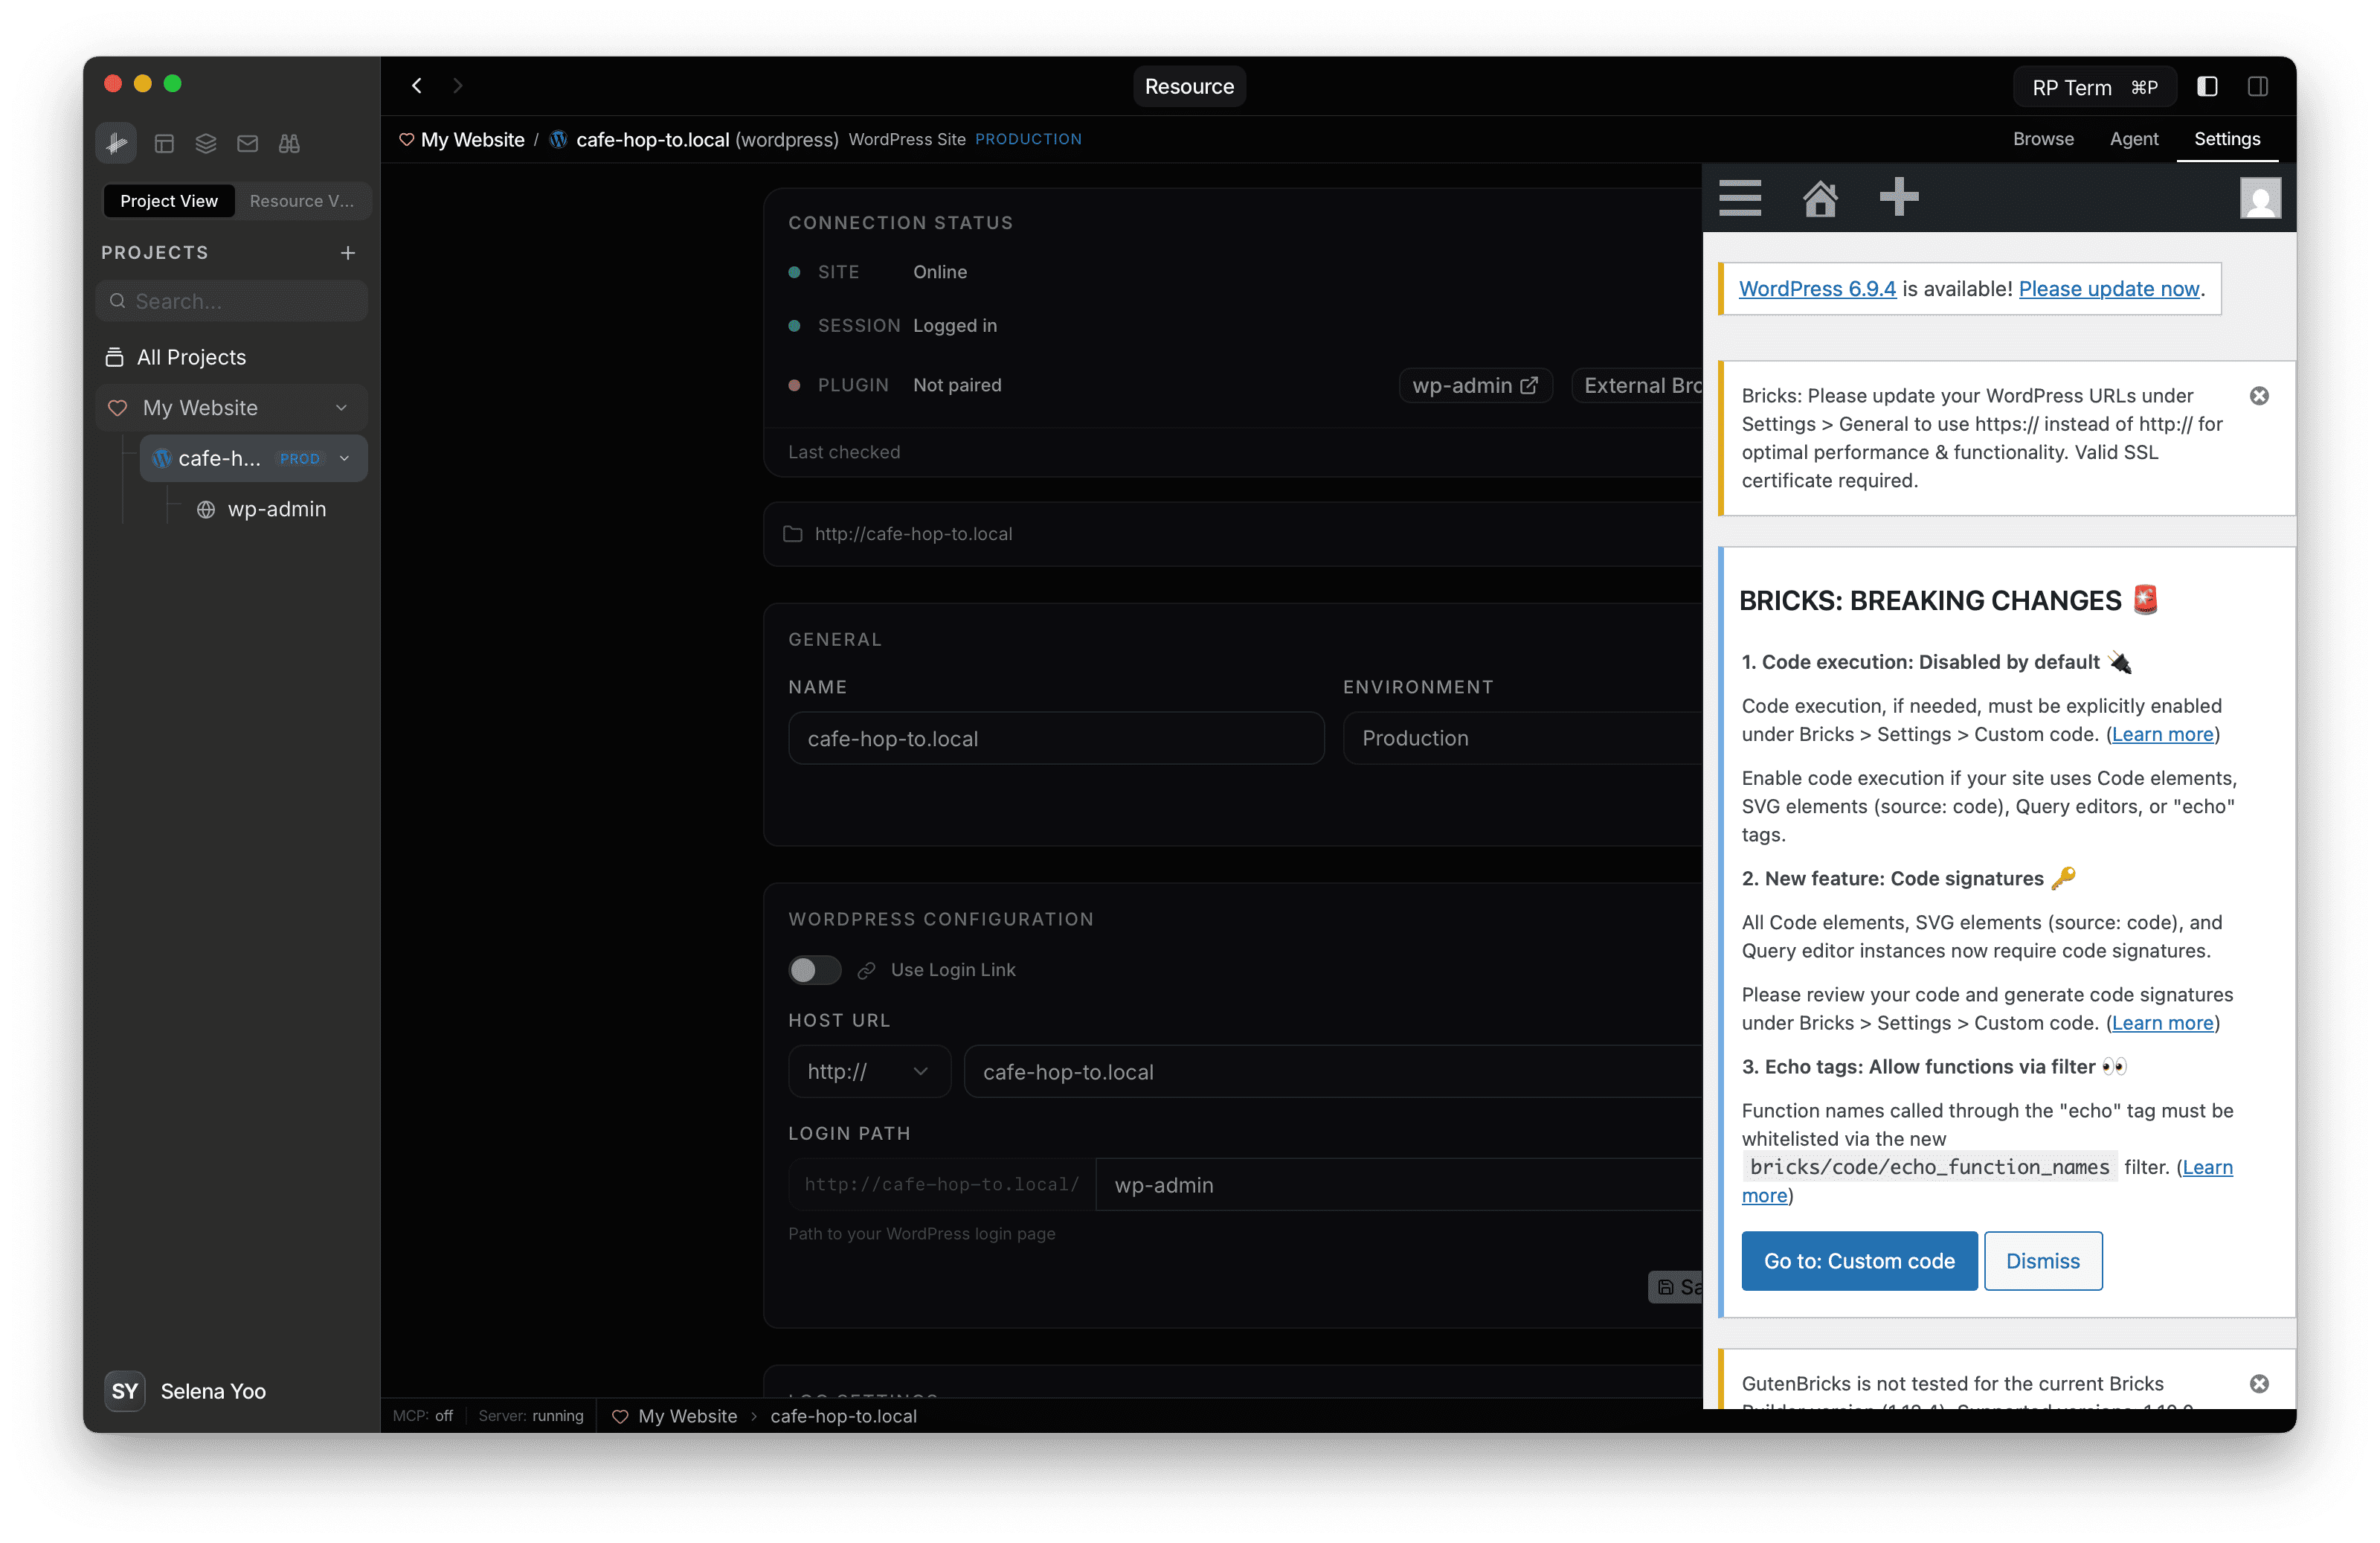
Step 4: Check connection status
Once added, the Connection Status card shows three layers:
- SITE: Whether RightPlace can reach your site. Shows response time when online.
- SESSION: Whether you are logged in to WP Admin.
- PLUGIN: Whether the RightPlace plugin is installed and paired with this device.
Each layer shows a colored indicator:
- ● Green: Resolved, working normally
- ● Amber: Action needed (e.g. not logged in, not paired)
- ● Red: Problem detected (e.g. site offline, plugin missing)
- ● Gray: Not yet checked
Click Check Now to refresh the status.
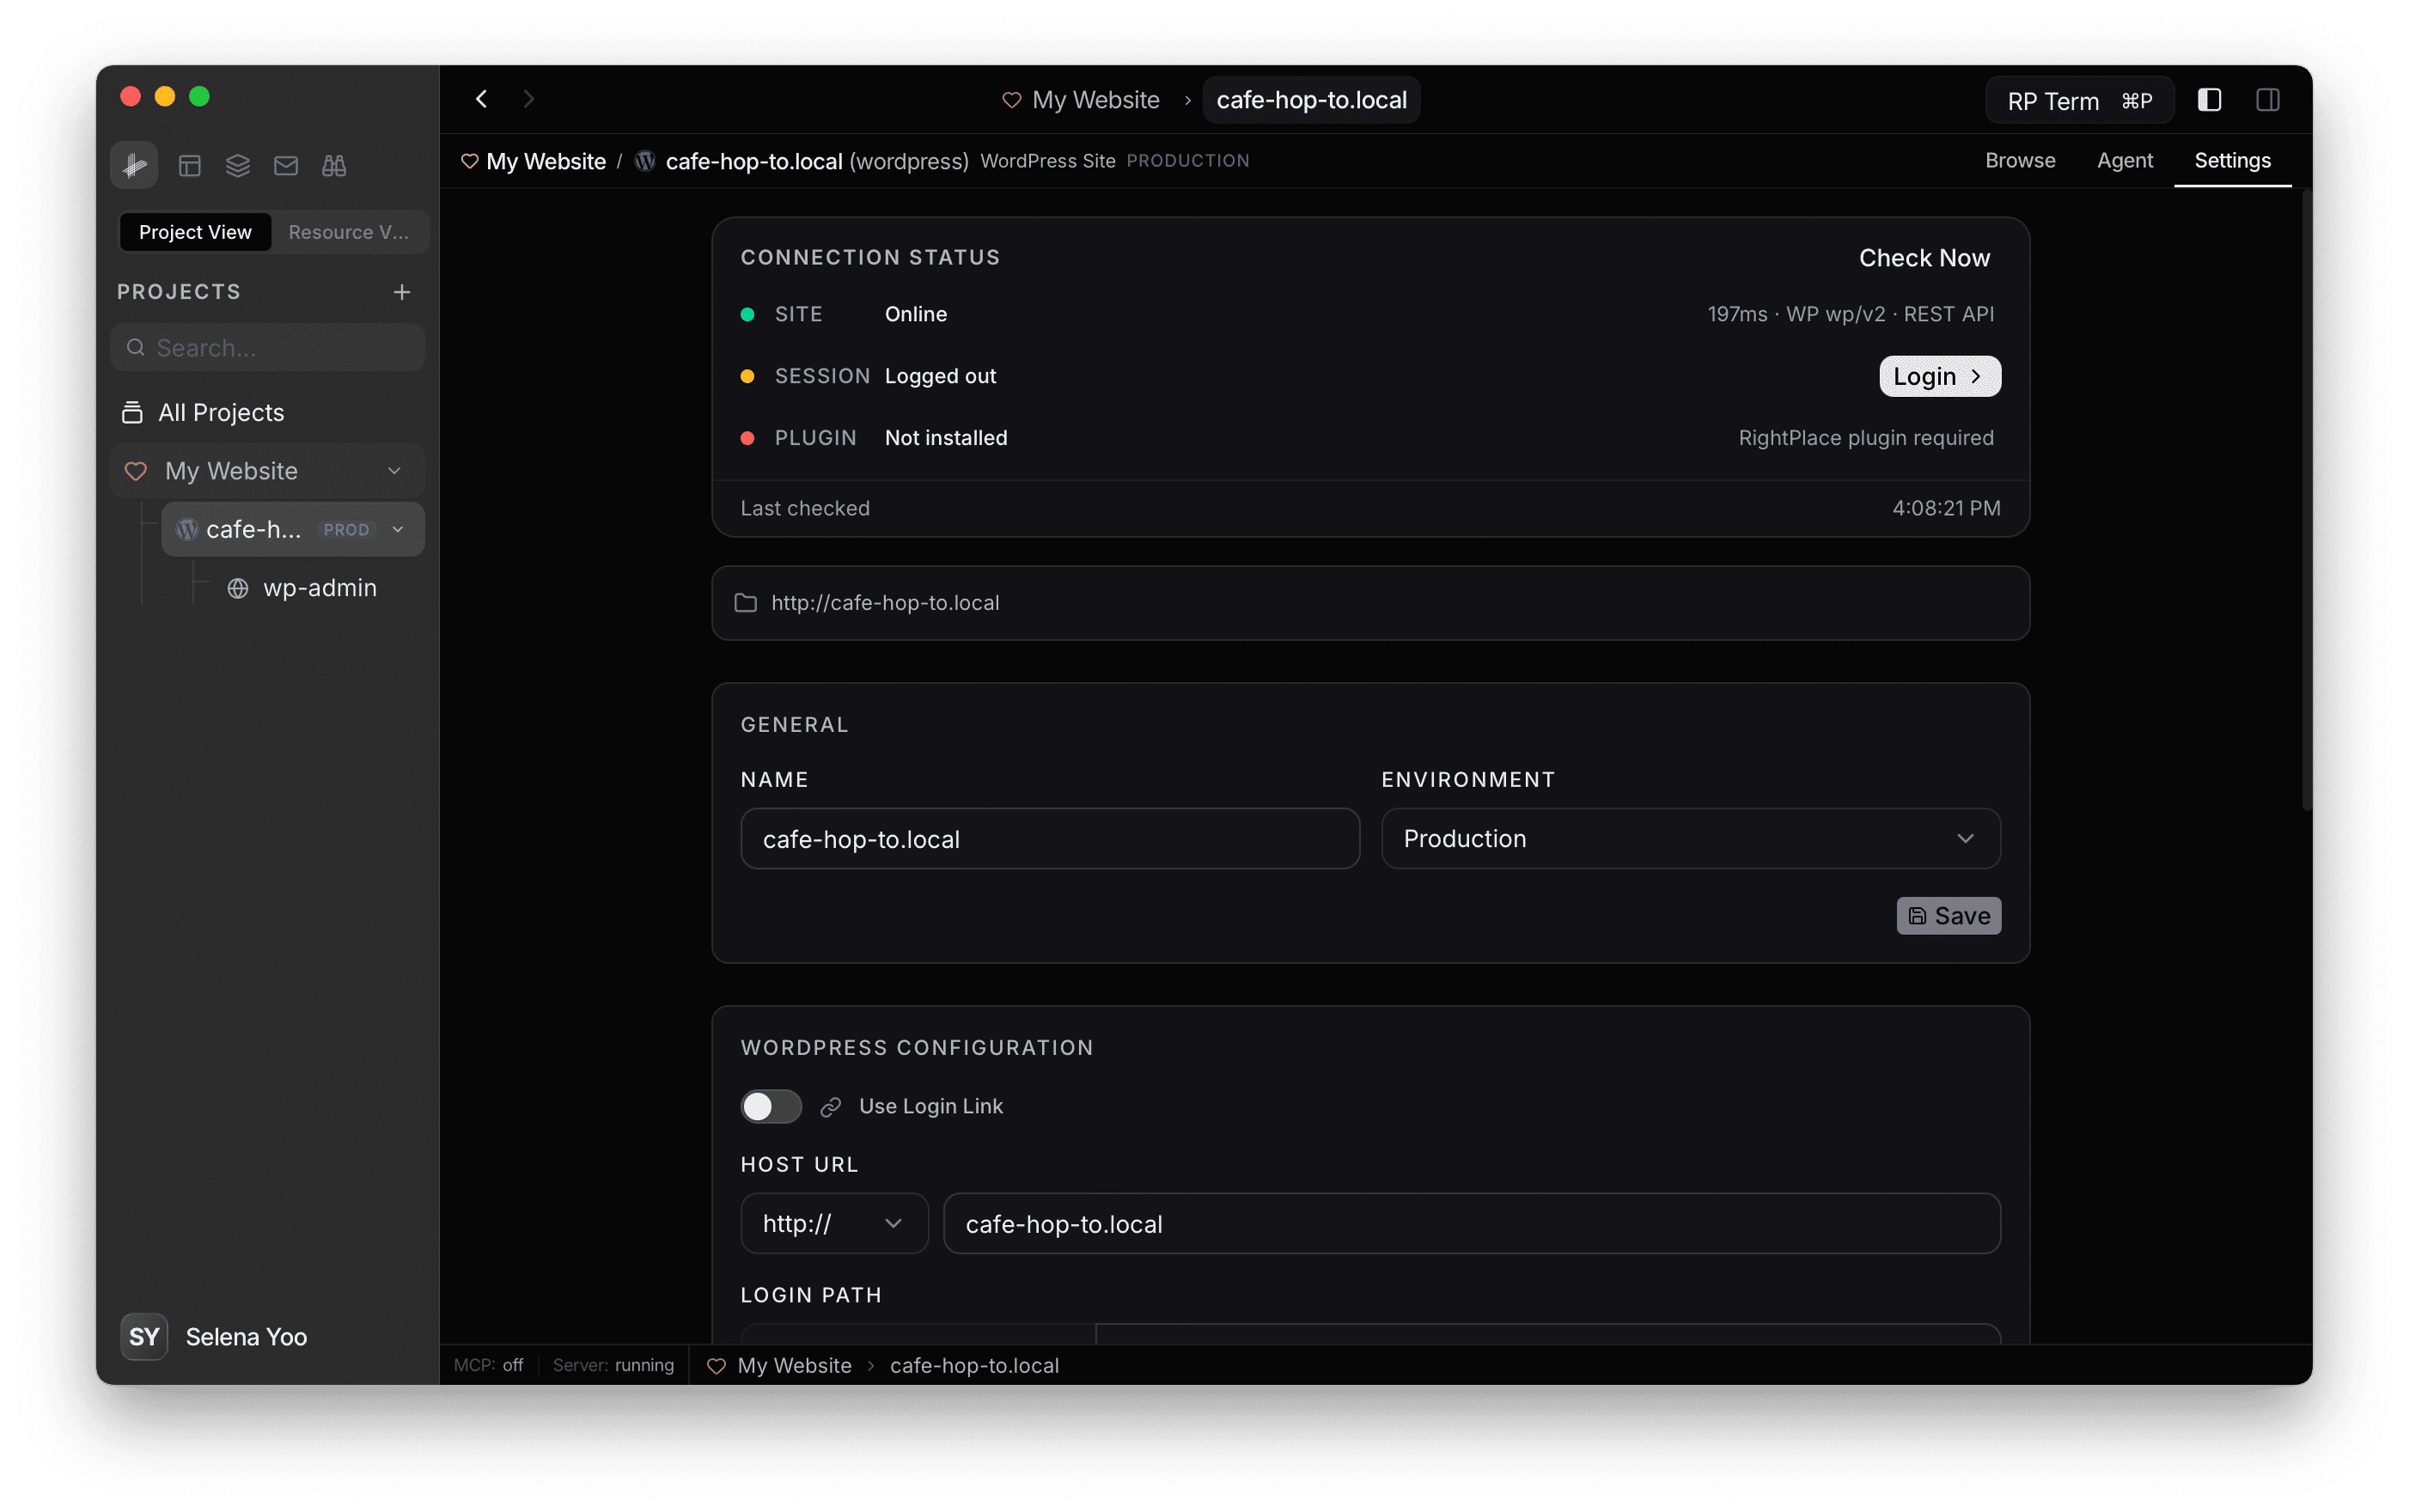
Step 5: Log in to WordPress
If the Session layer shows Logged out, click Login. This navigates you to the Browse tab and loads your WordPress login page.
Sign in with your WordPress credentials. RightPlace detects the login automatically and the Session layer turns green.
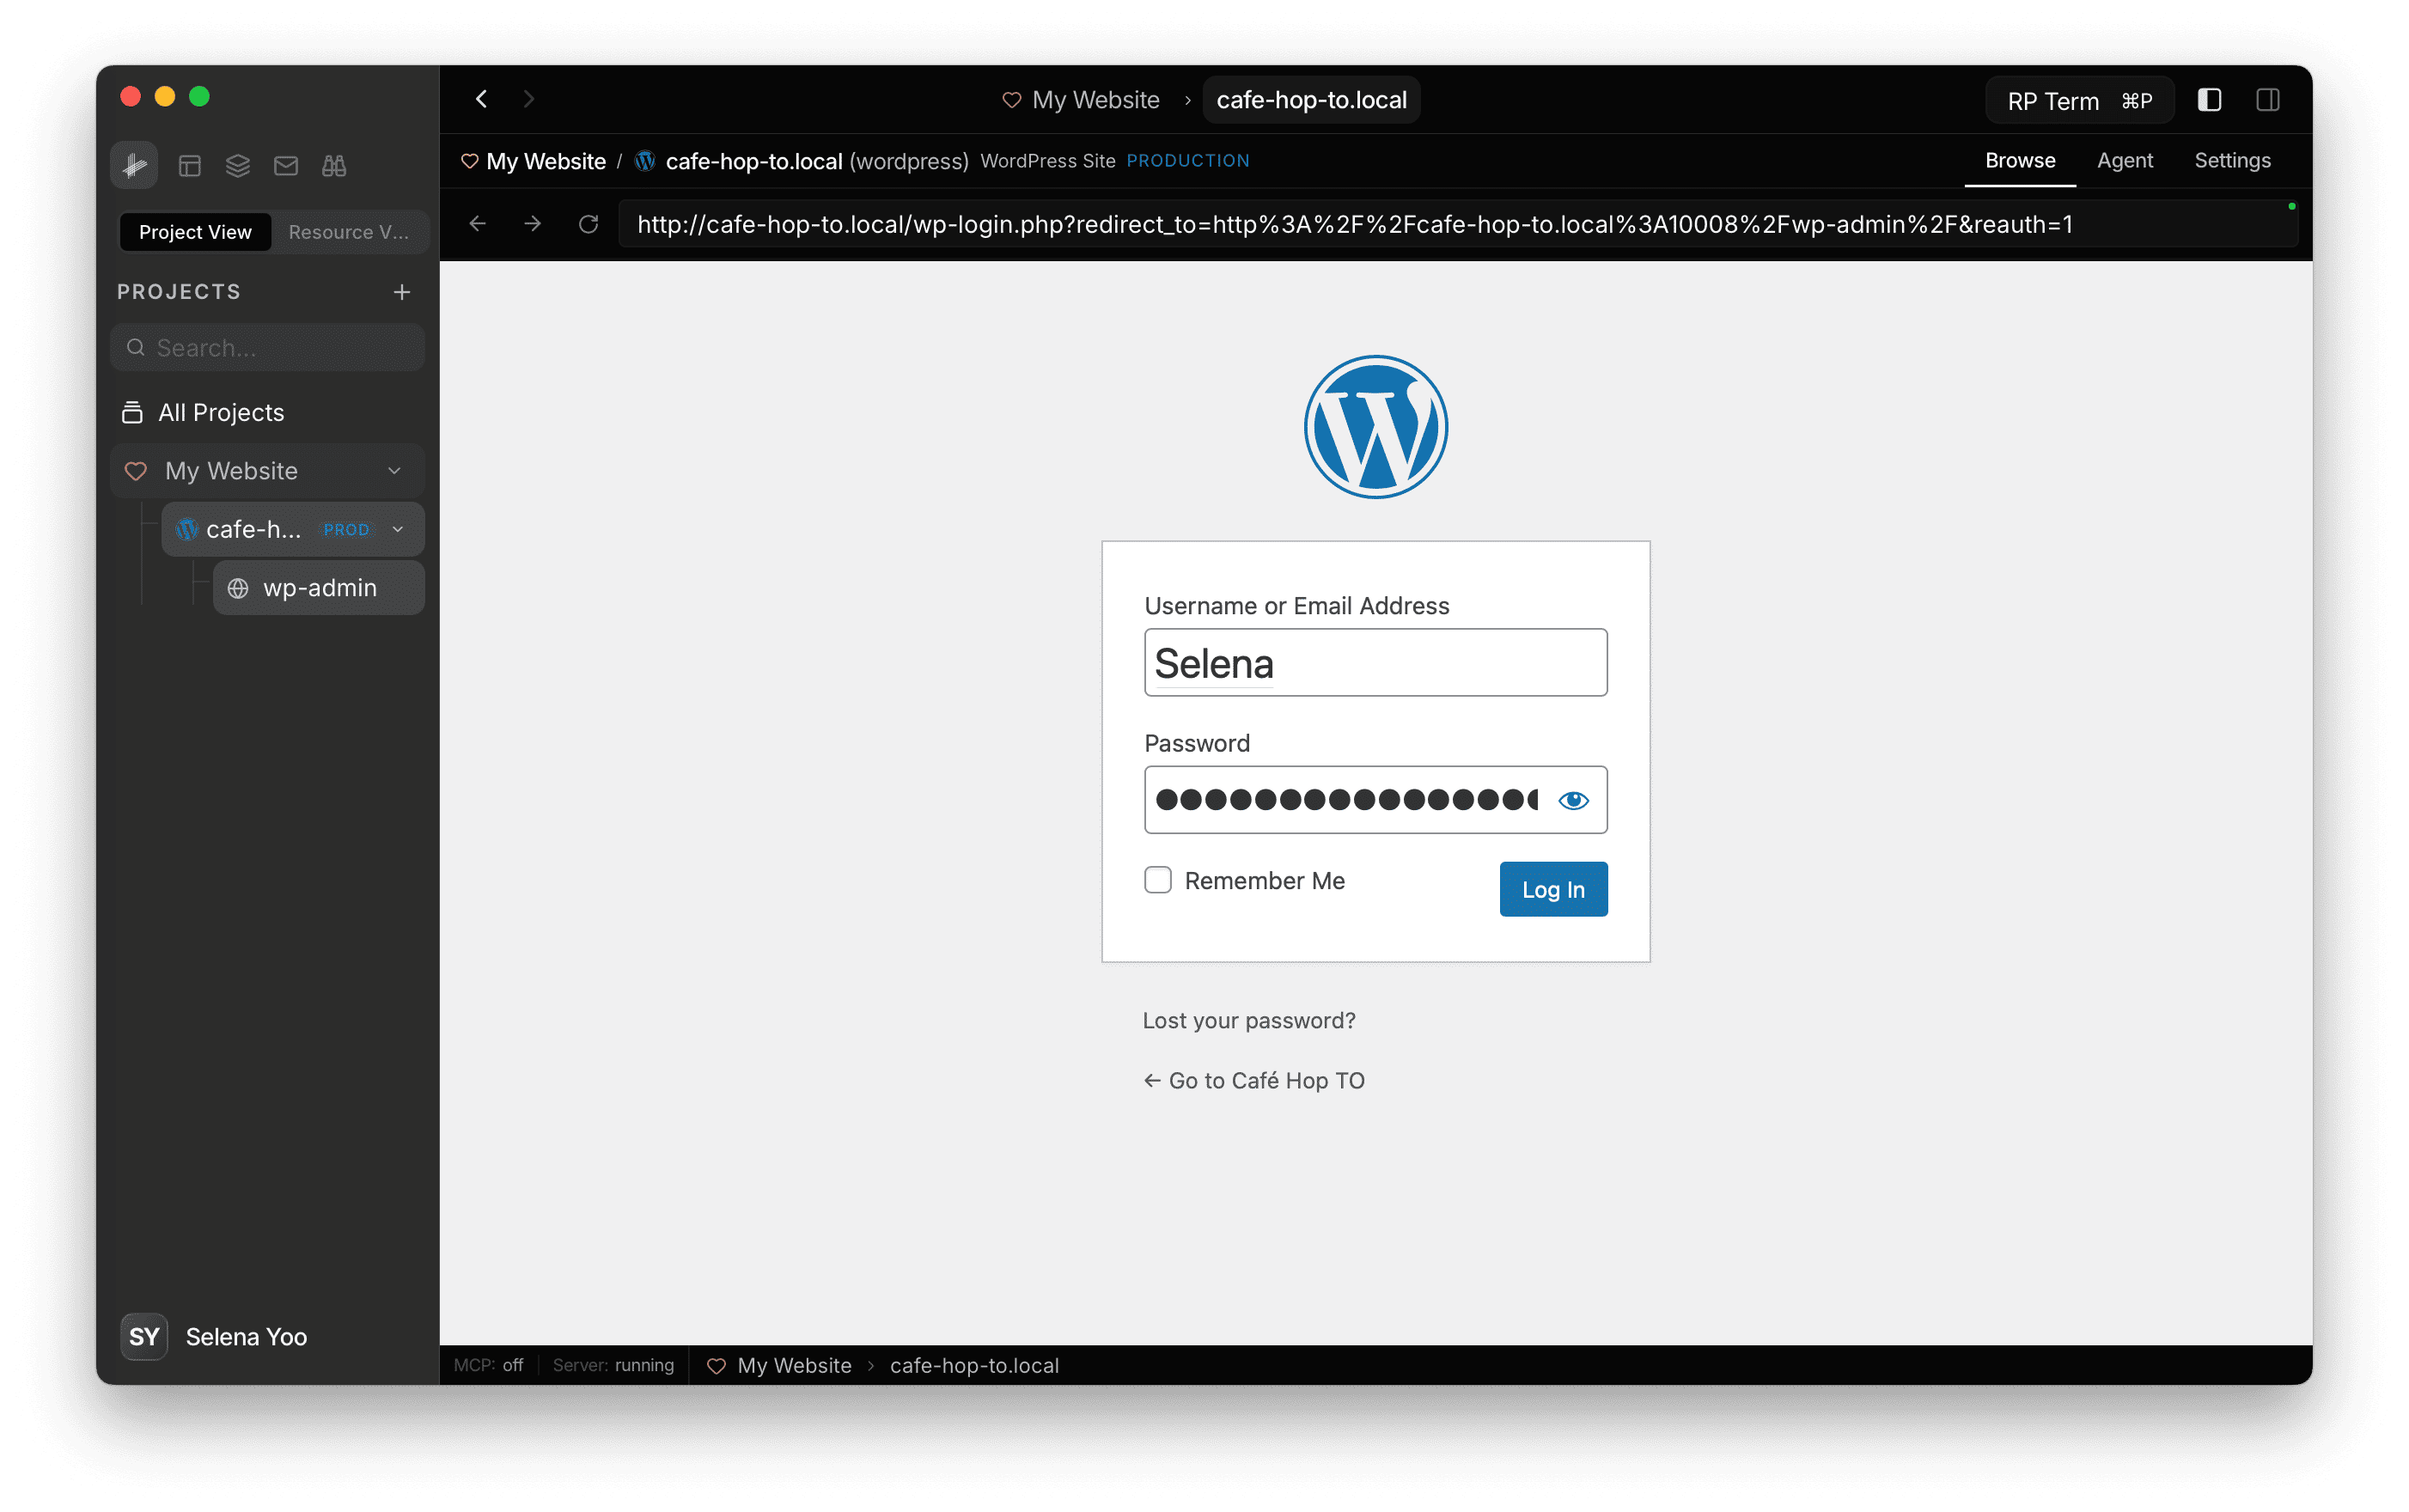
Once logged in, the Session layer turns green and shows Logged in.
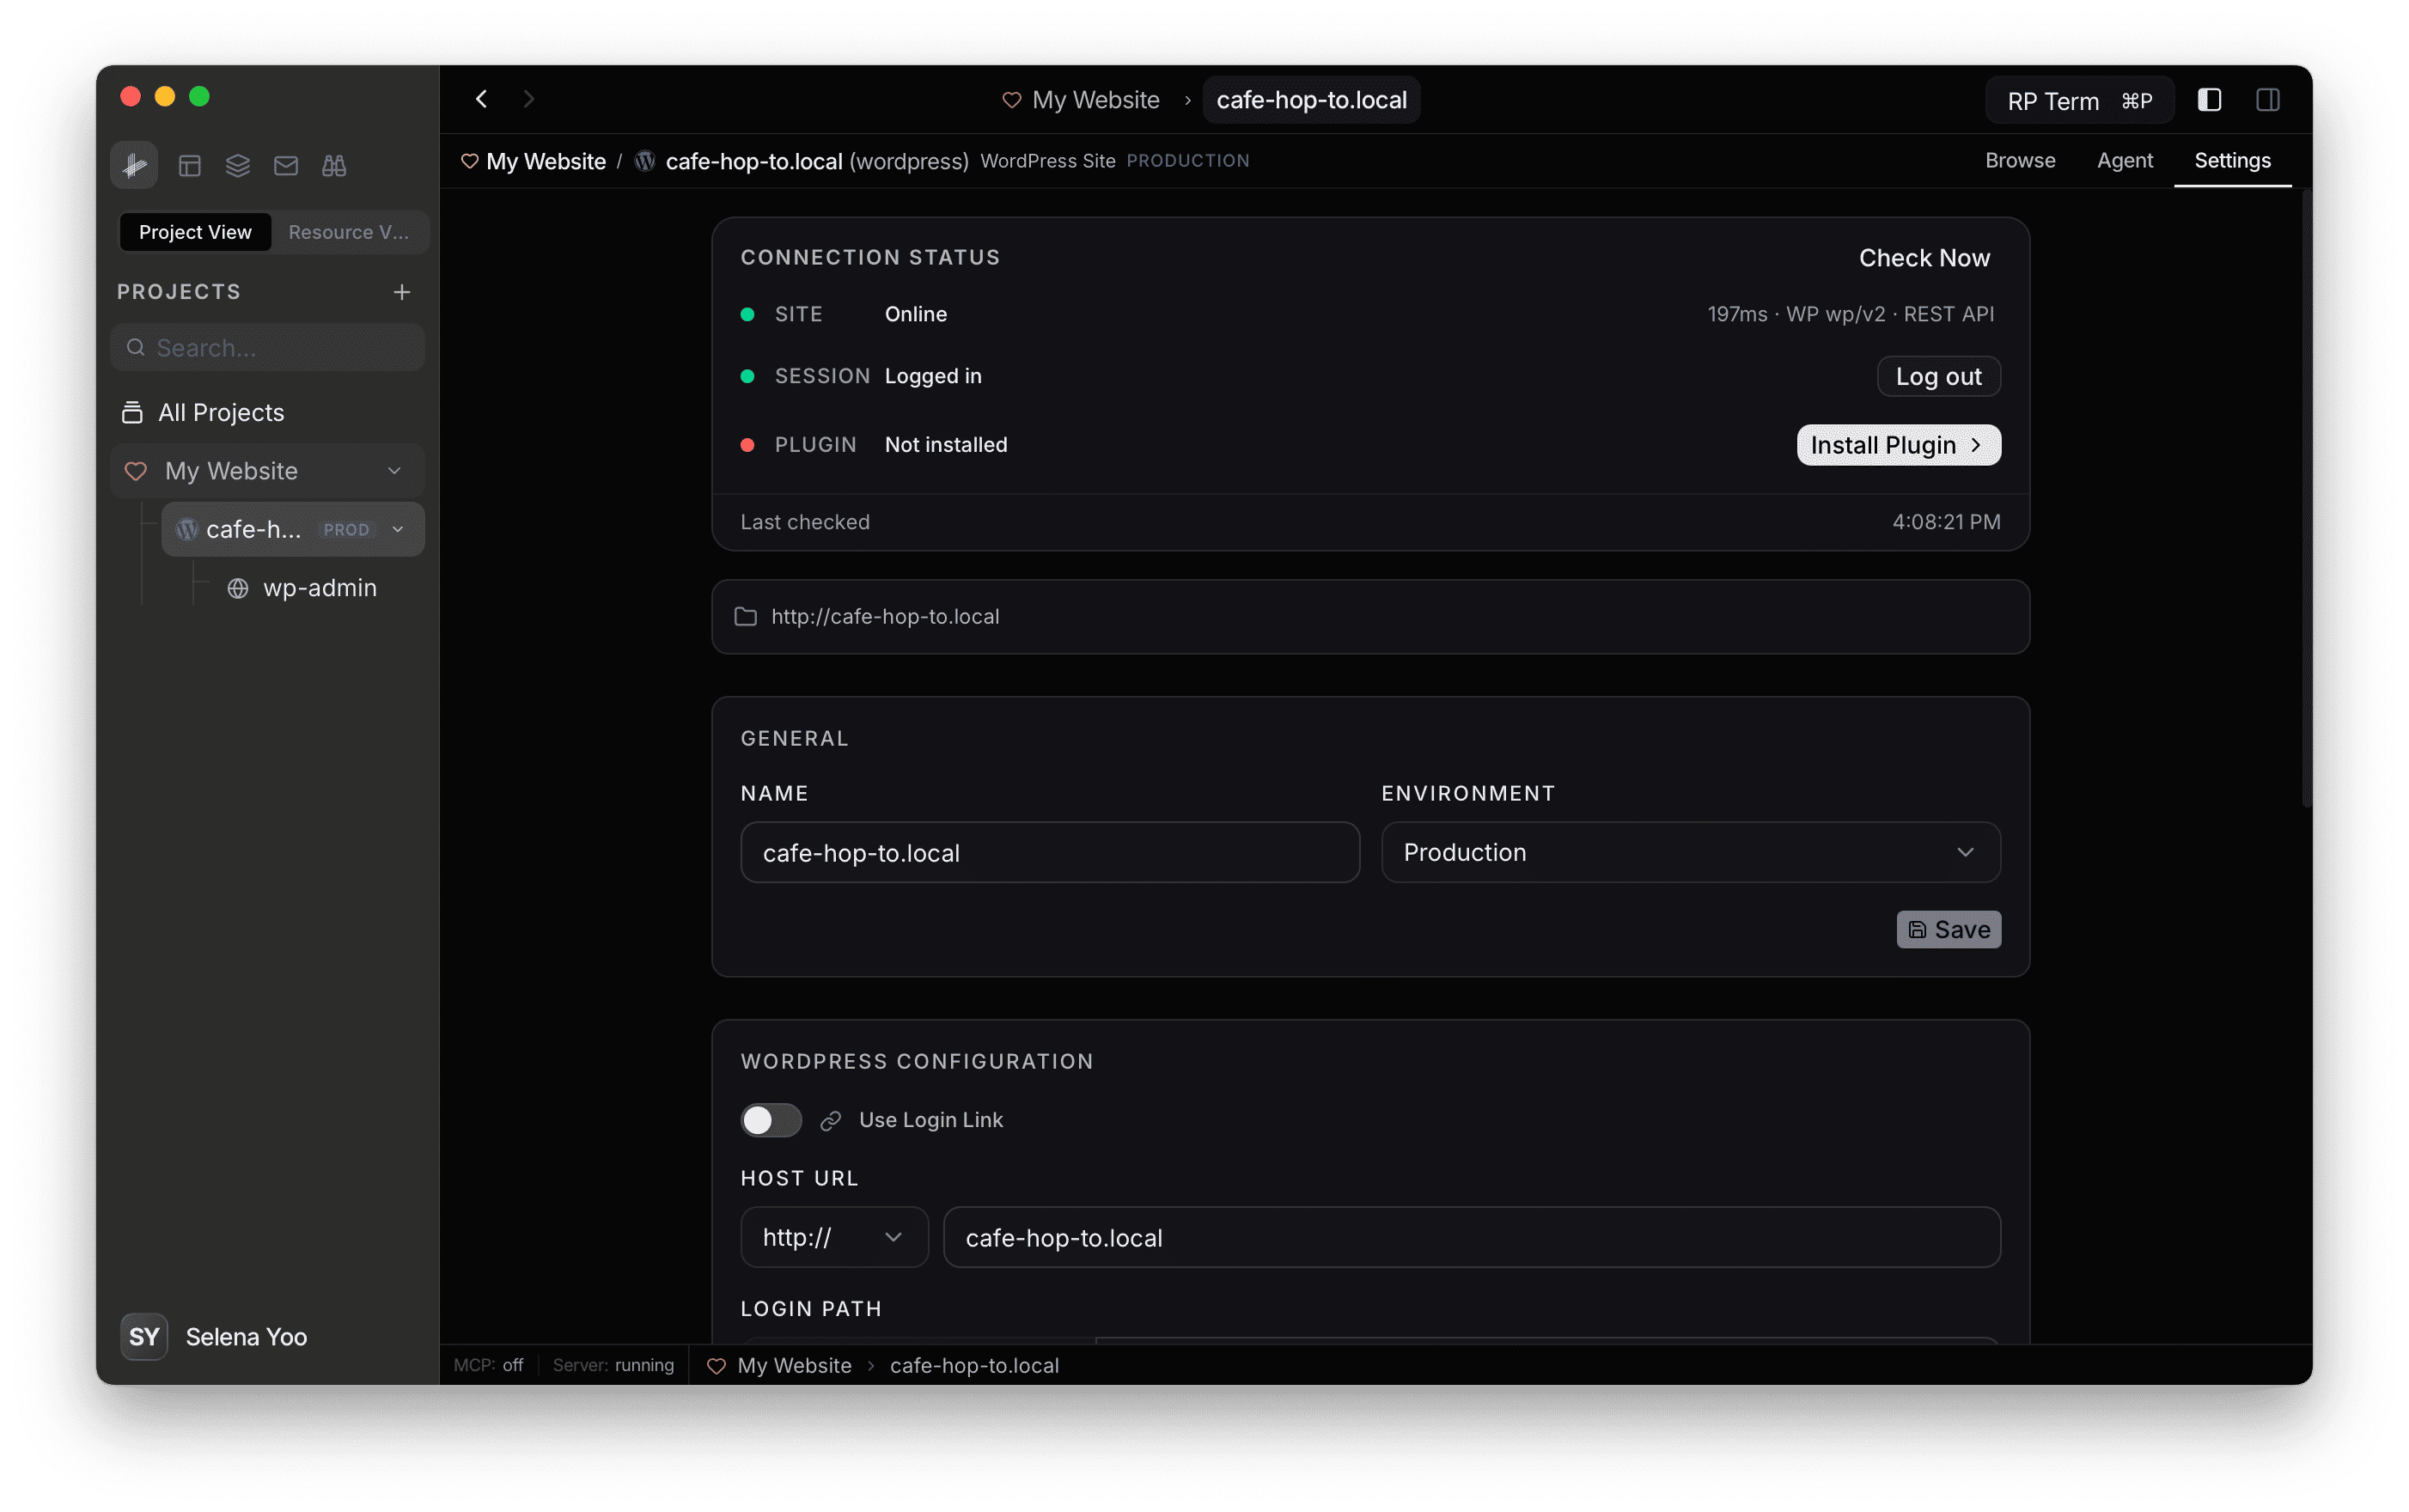
Step 6: Install the RightPlace plugin
If the Plugin layer shows Not installed, click Install Plugin to see the setup instructions:
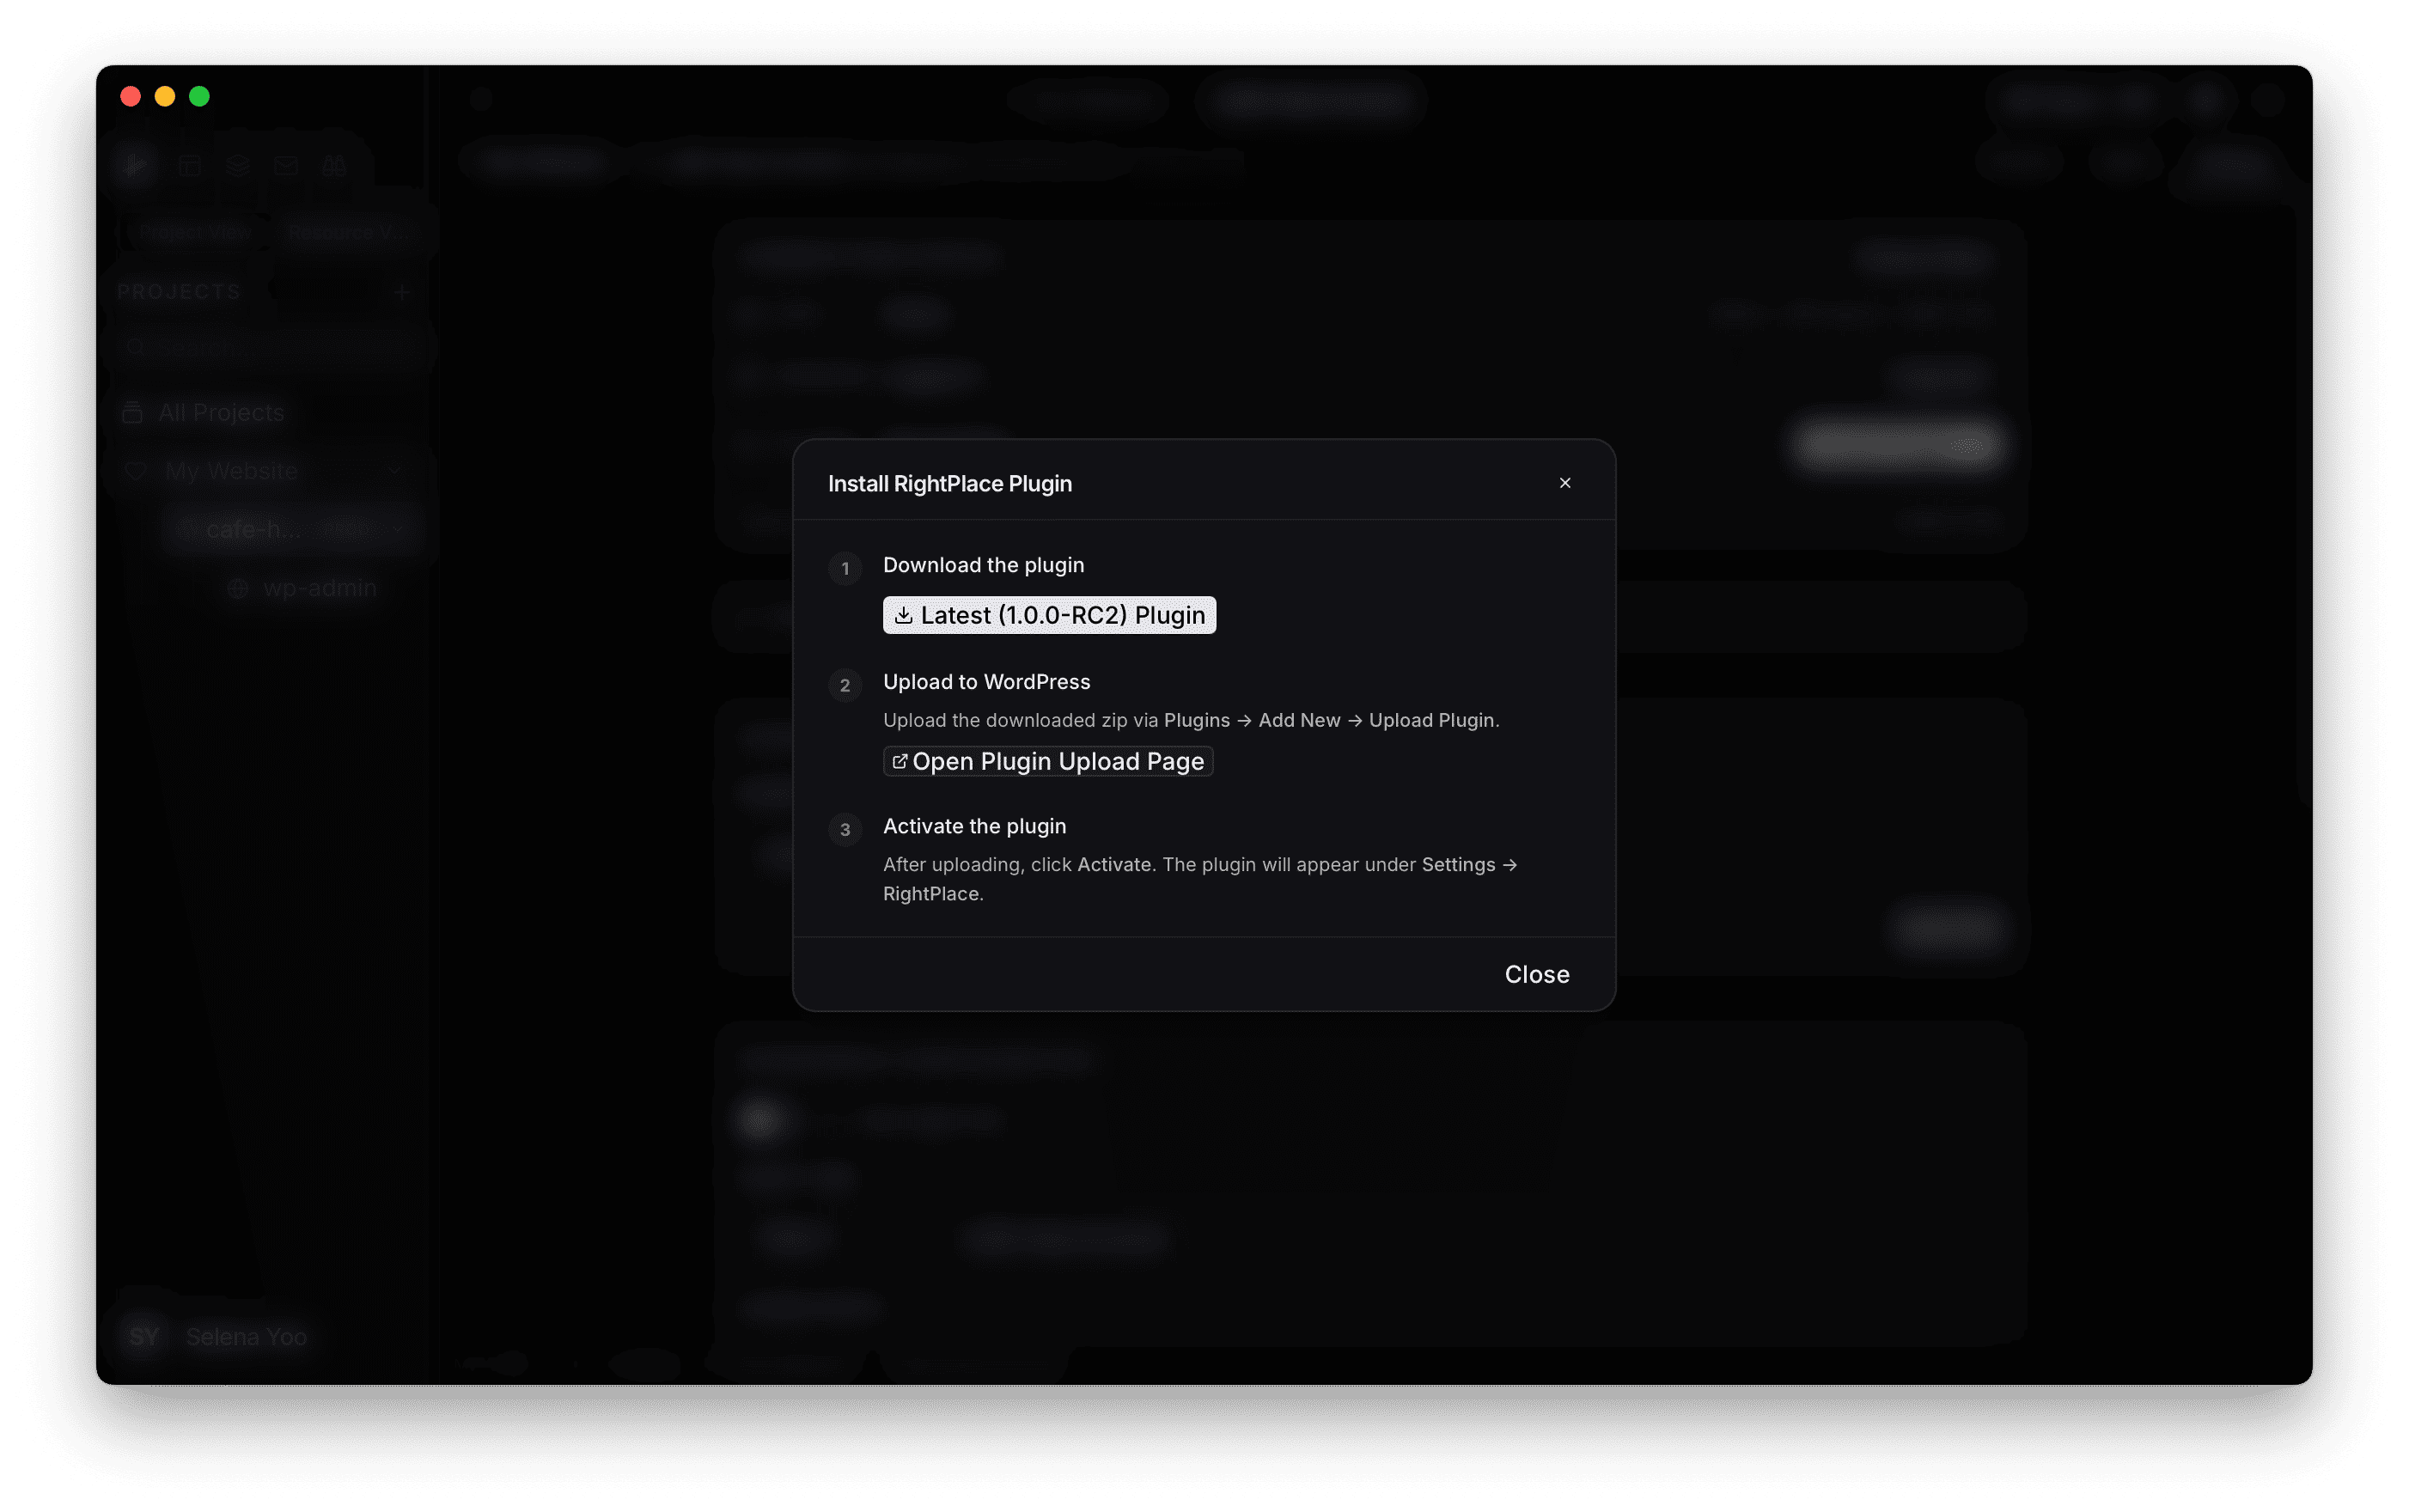
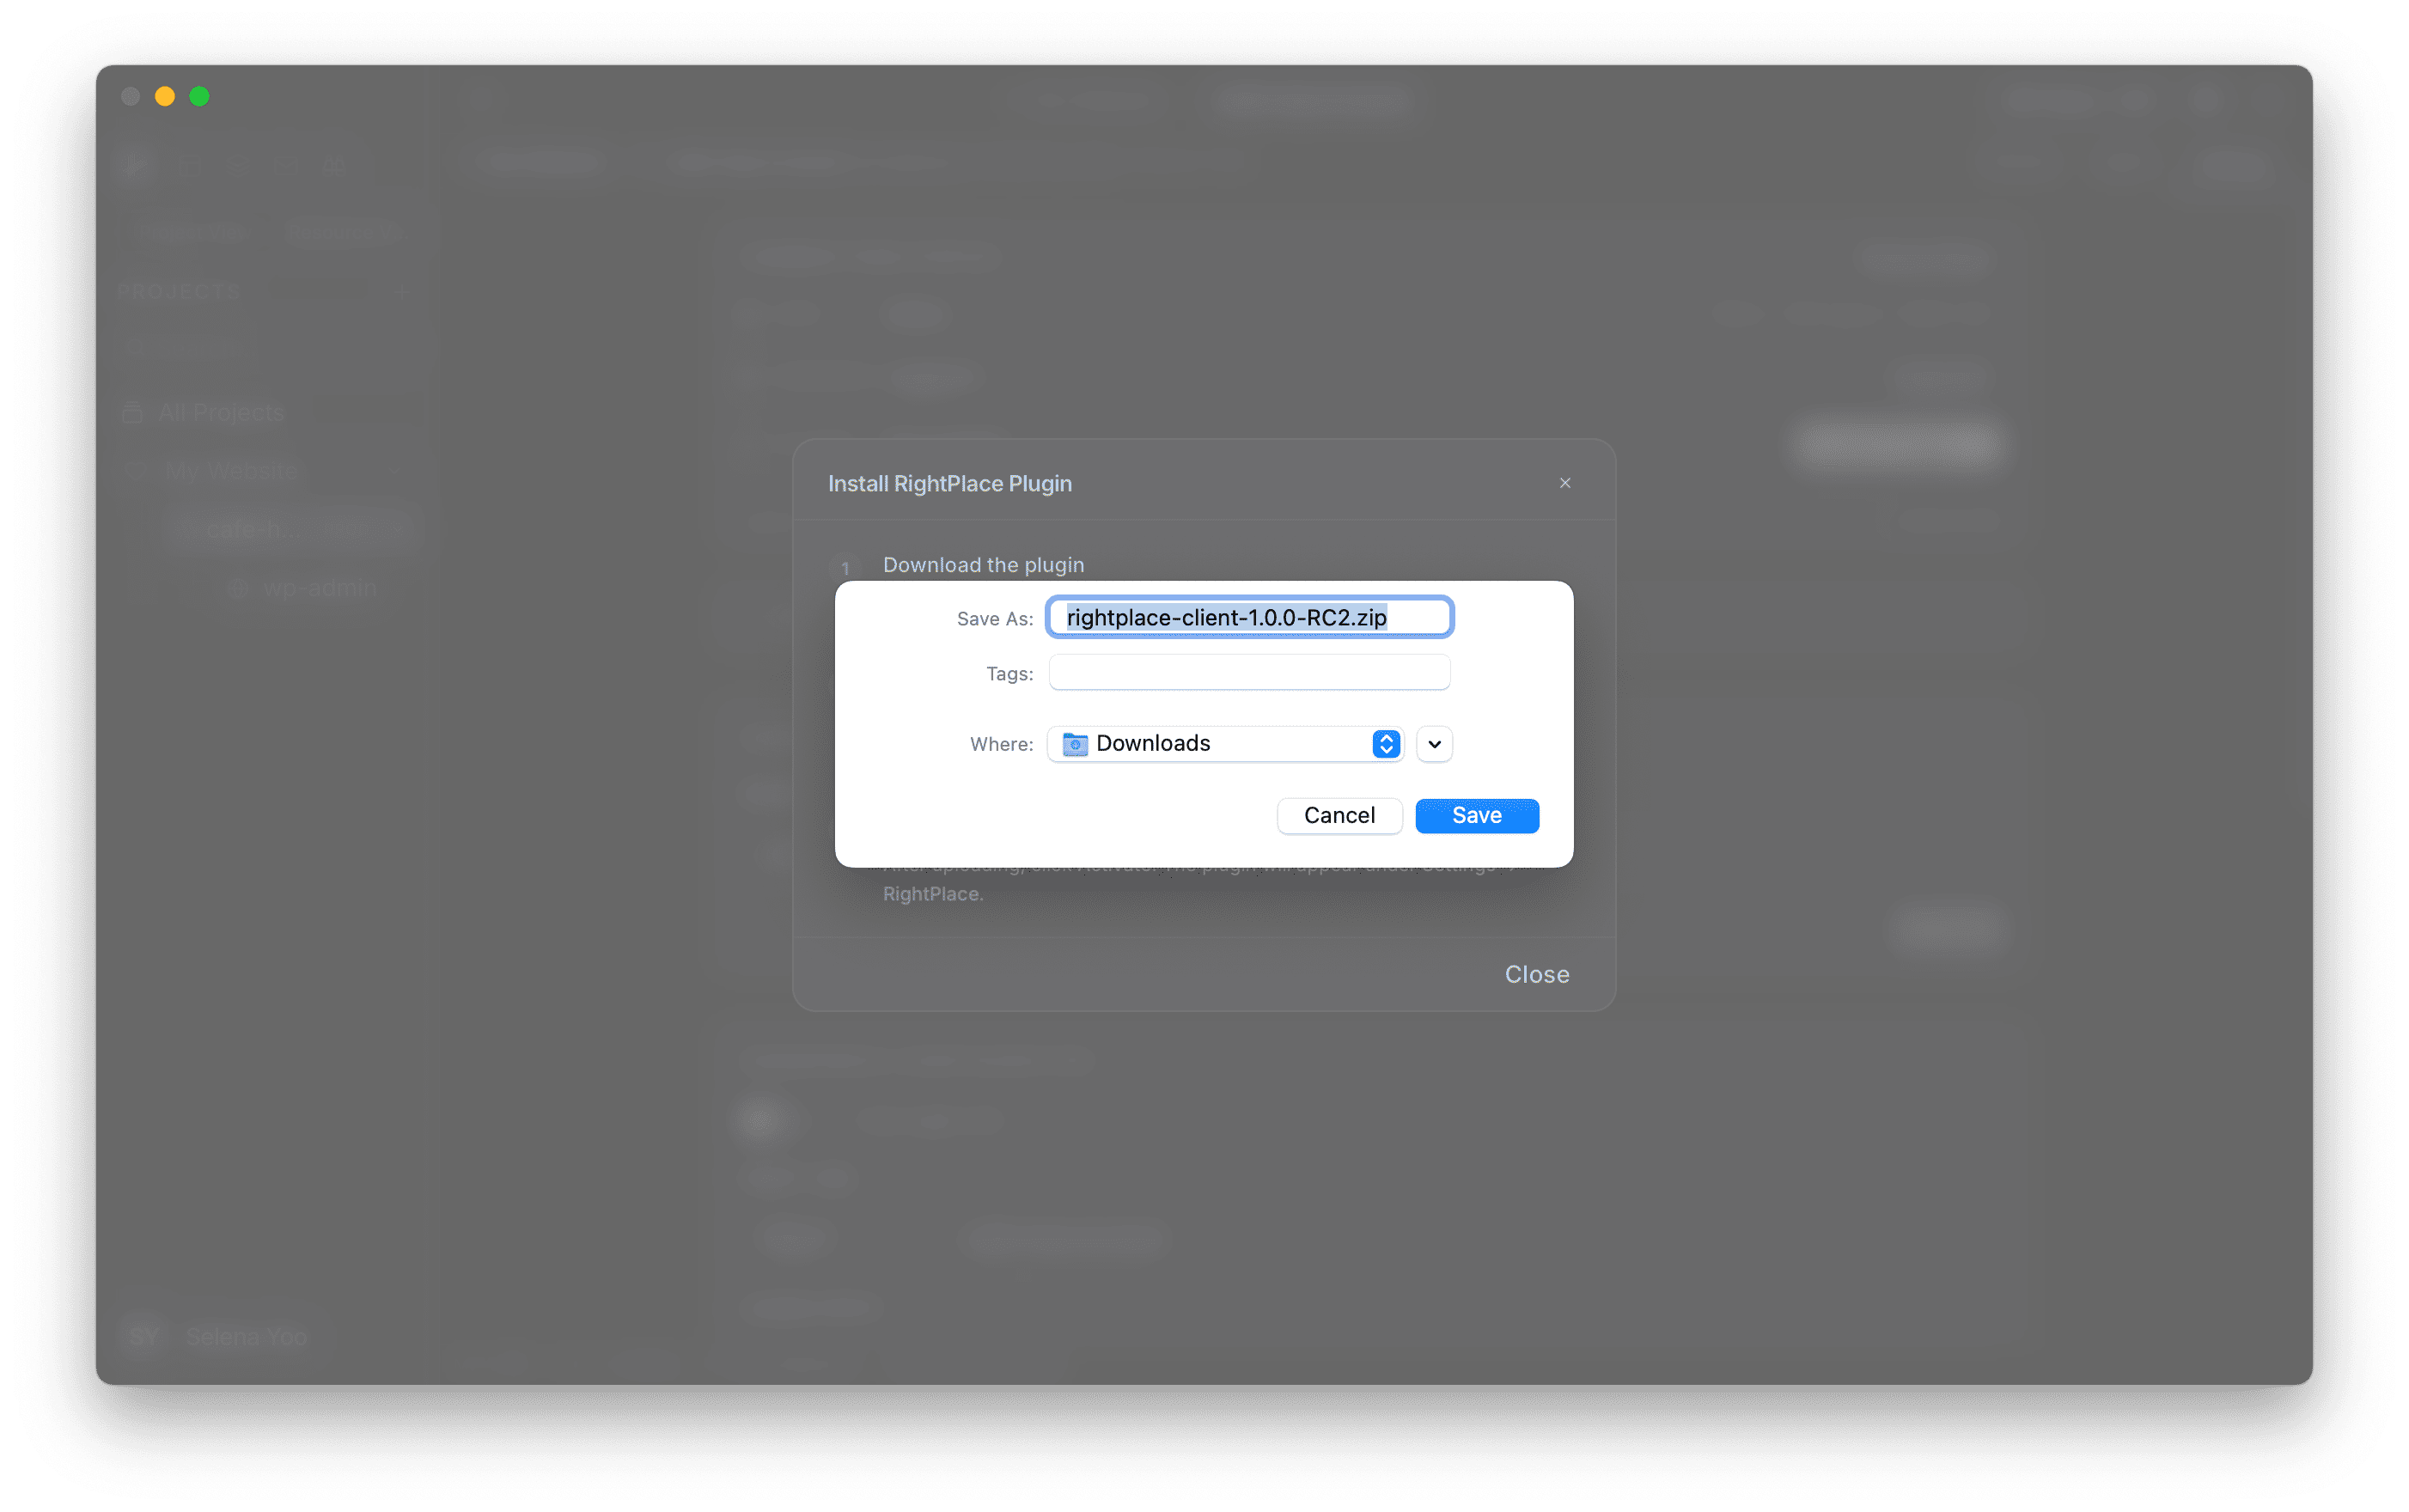
- Download the plugin: Click the download button to get the latest
.zipfile.
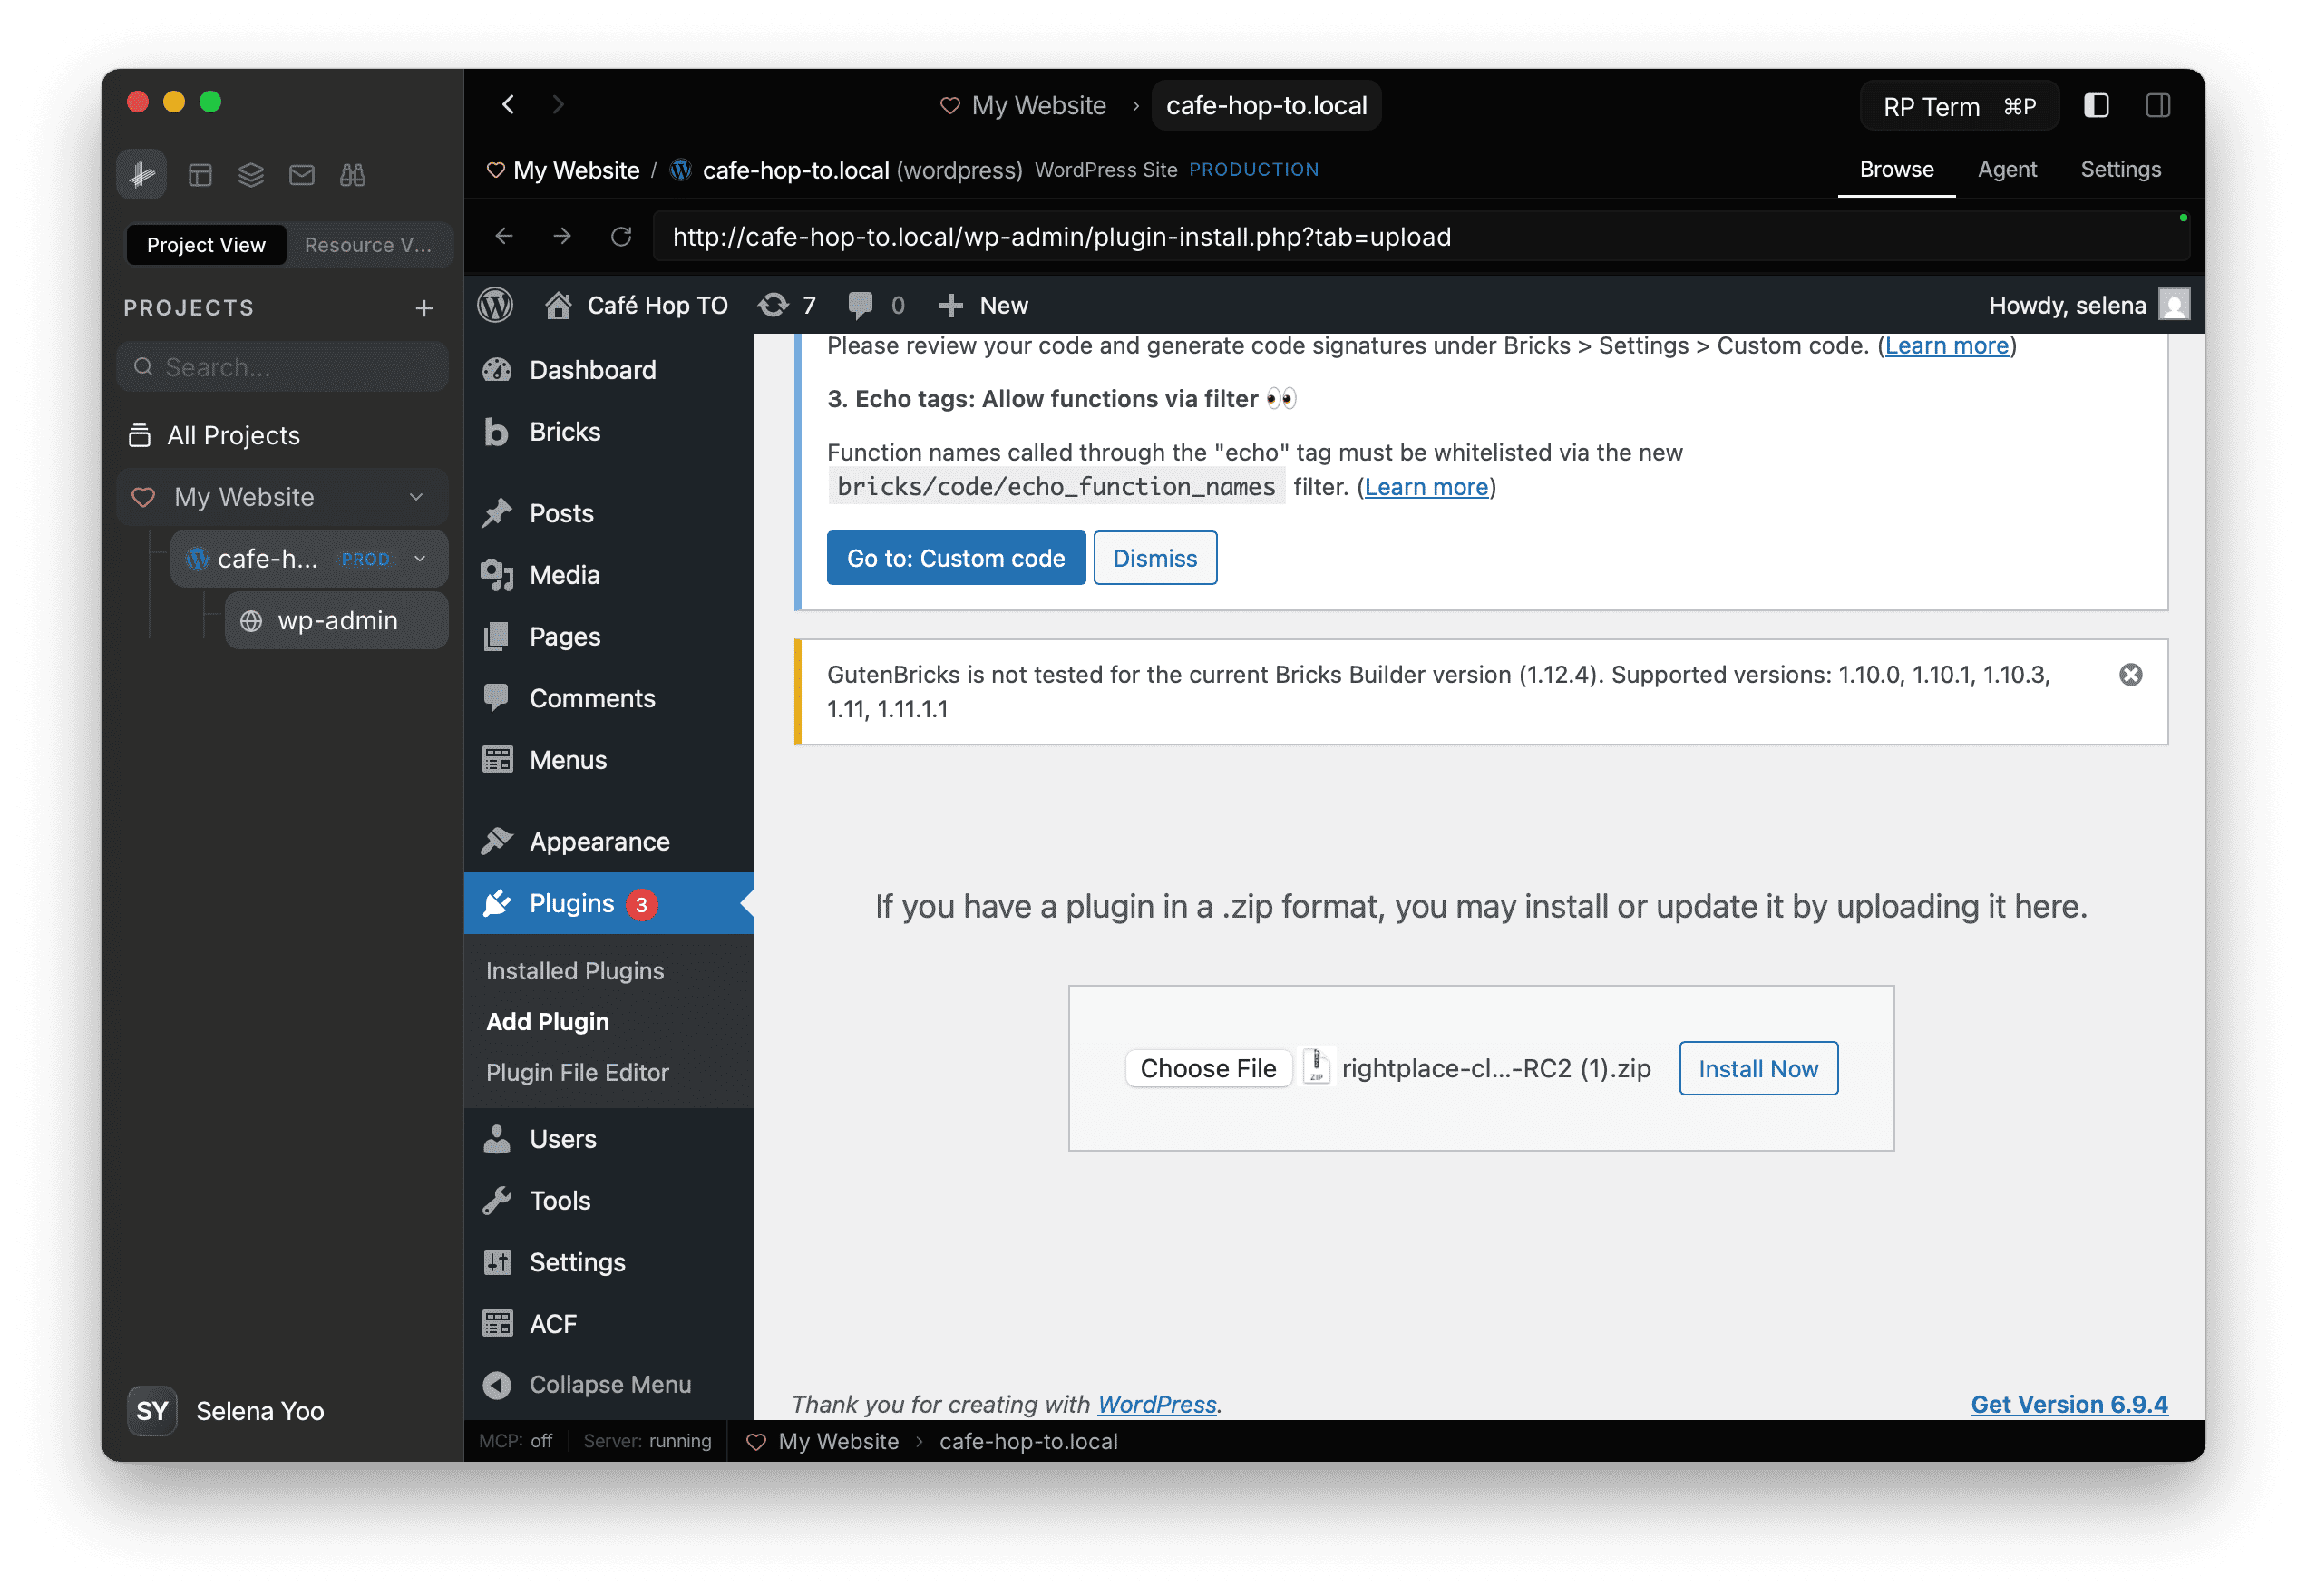
- Upload to WordPress: In your WordPress admin, go to Plugins → Add New → Upload Plugin and upload the zip. Or just click Open Plugin Upload Page in the dialog to go there directly.
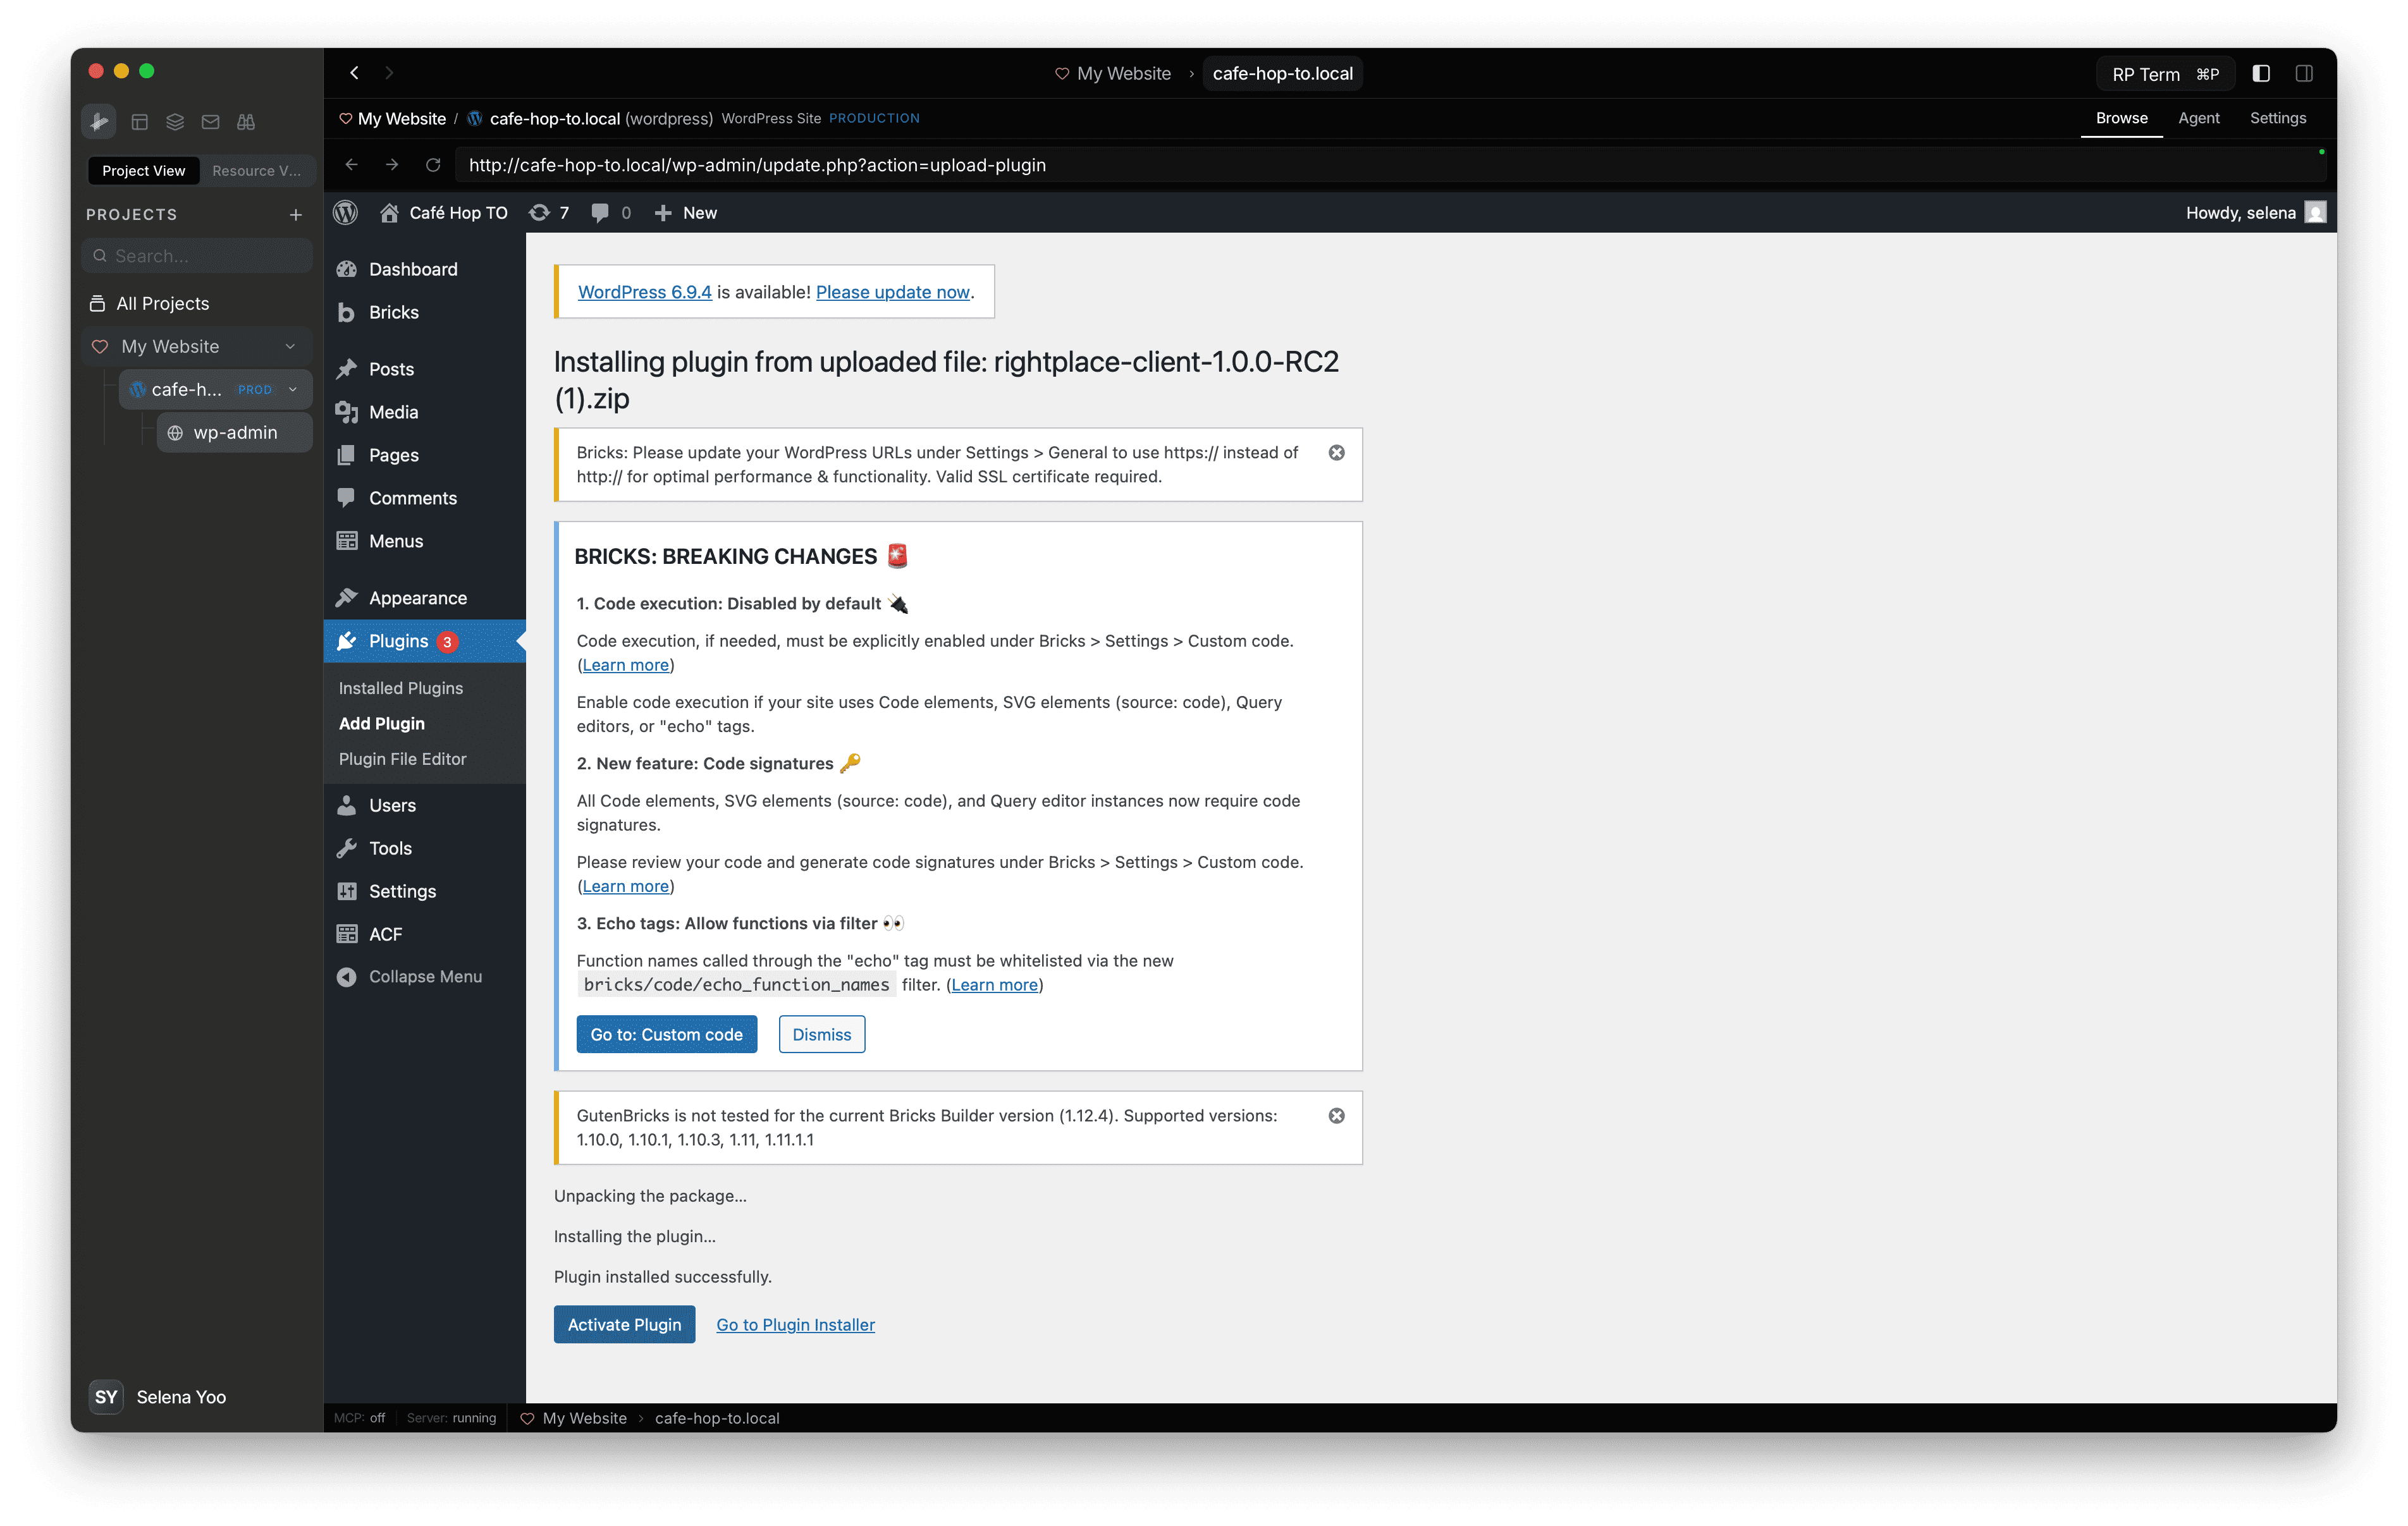
- Activate: Click Activate. You will be redirected to the RightPlace plugin settings page.
Step 7: Pair your device
After activating the plugin, you need to pair this device. The Plugin layer shows Not paired with a Pair button.
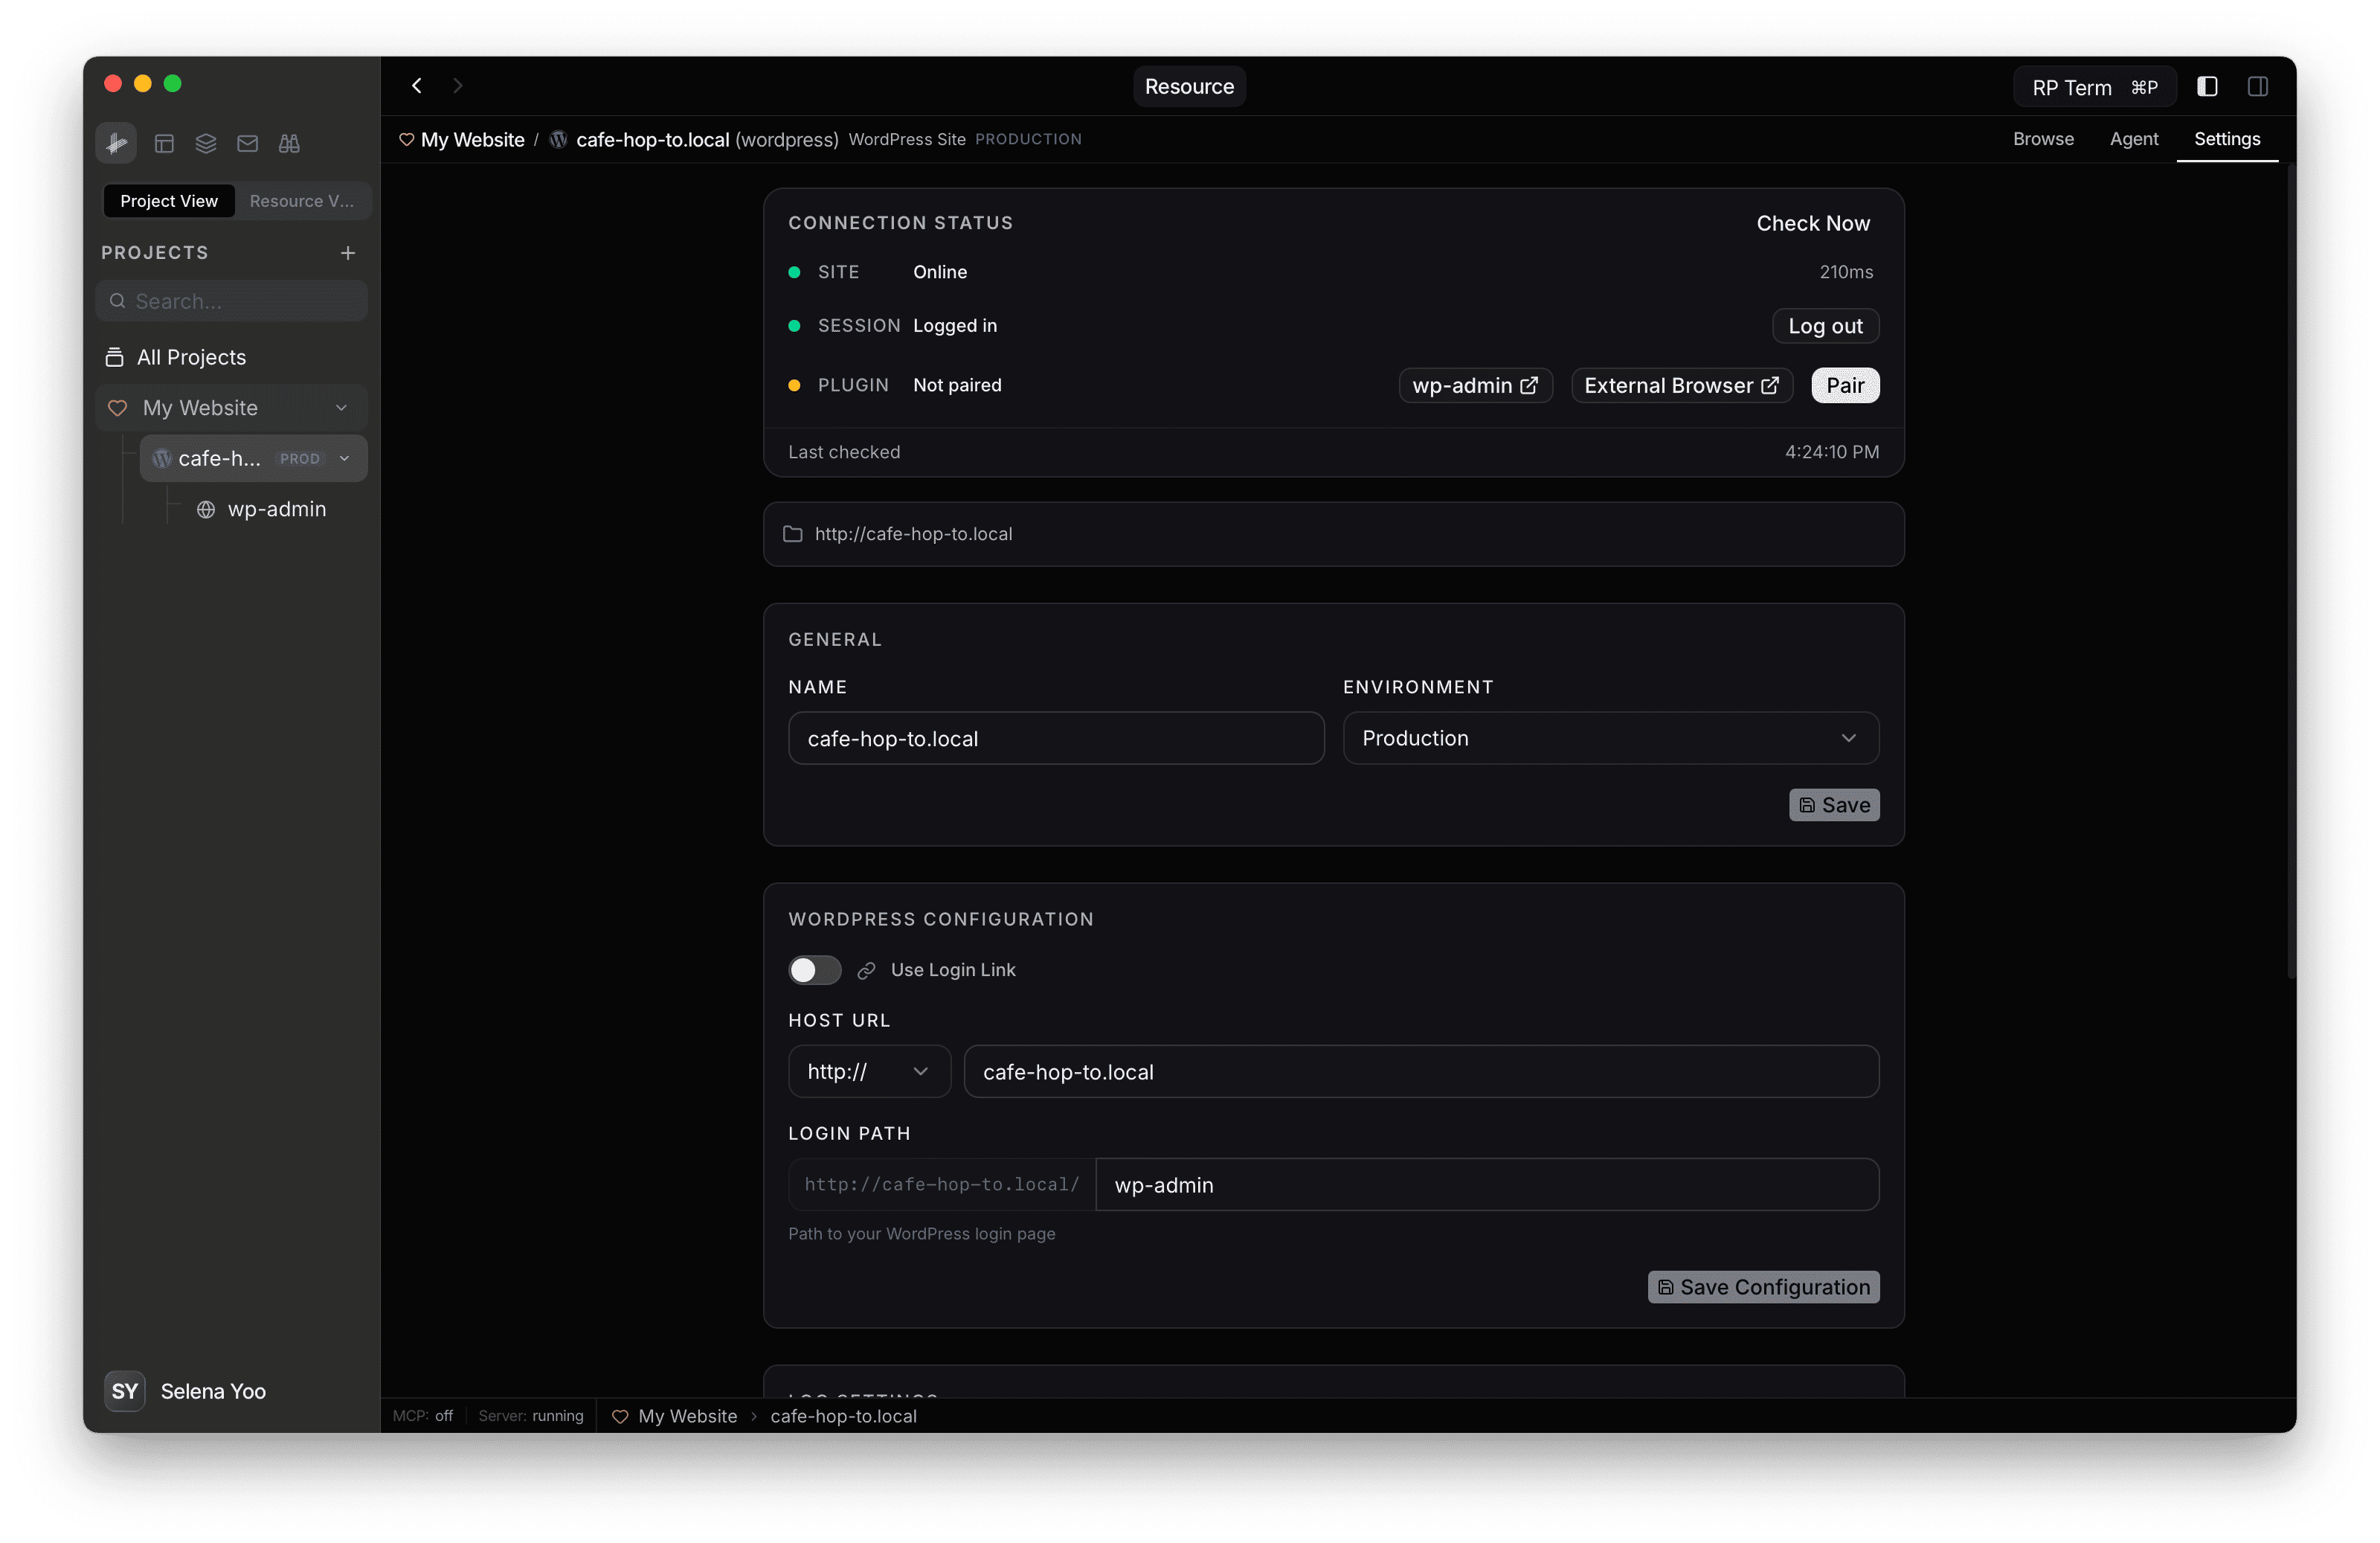
Click Pair. A browser window opens and the pairing process completes automatically. No action needed on your end.
Step 8: Connection complete
When all three layers are green, your WordPress site is fully connected:
- SITE: Online (with response time)
- SESSION: Logged in
- PLUGIN: Paired (with plugin version)
You can now manage content, run operations, and sync changes between RightPlace and your WordPress site.